Sinangag Recipe (Filipino Fried Rice)
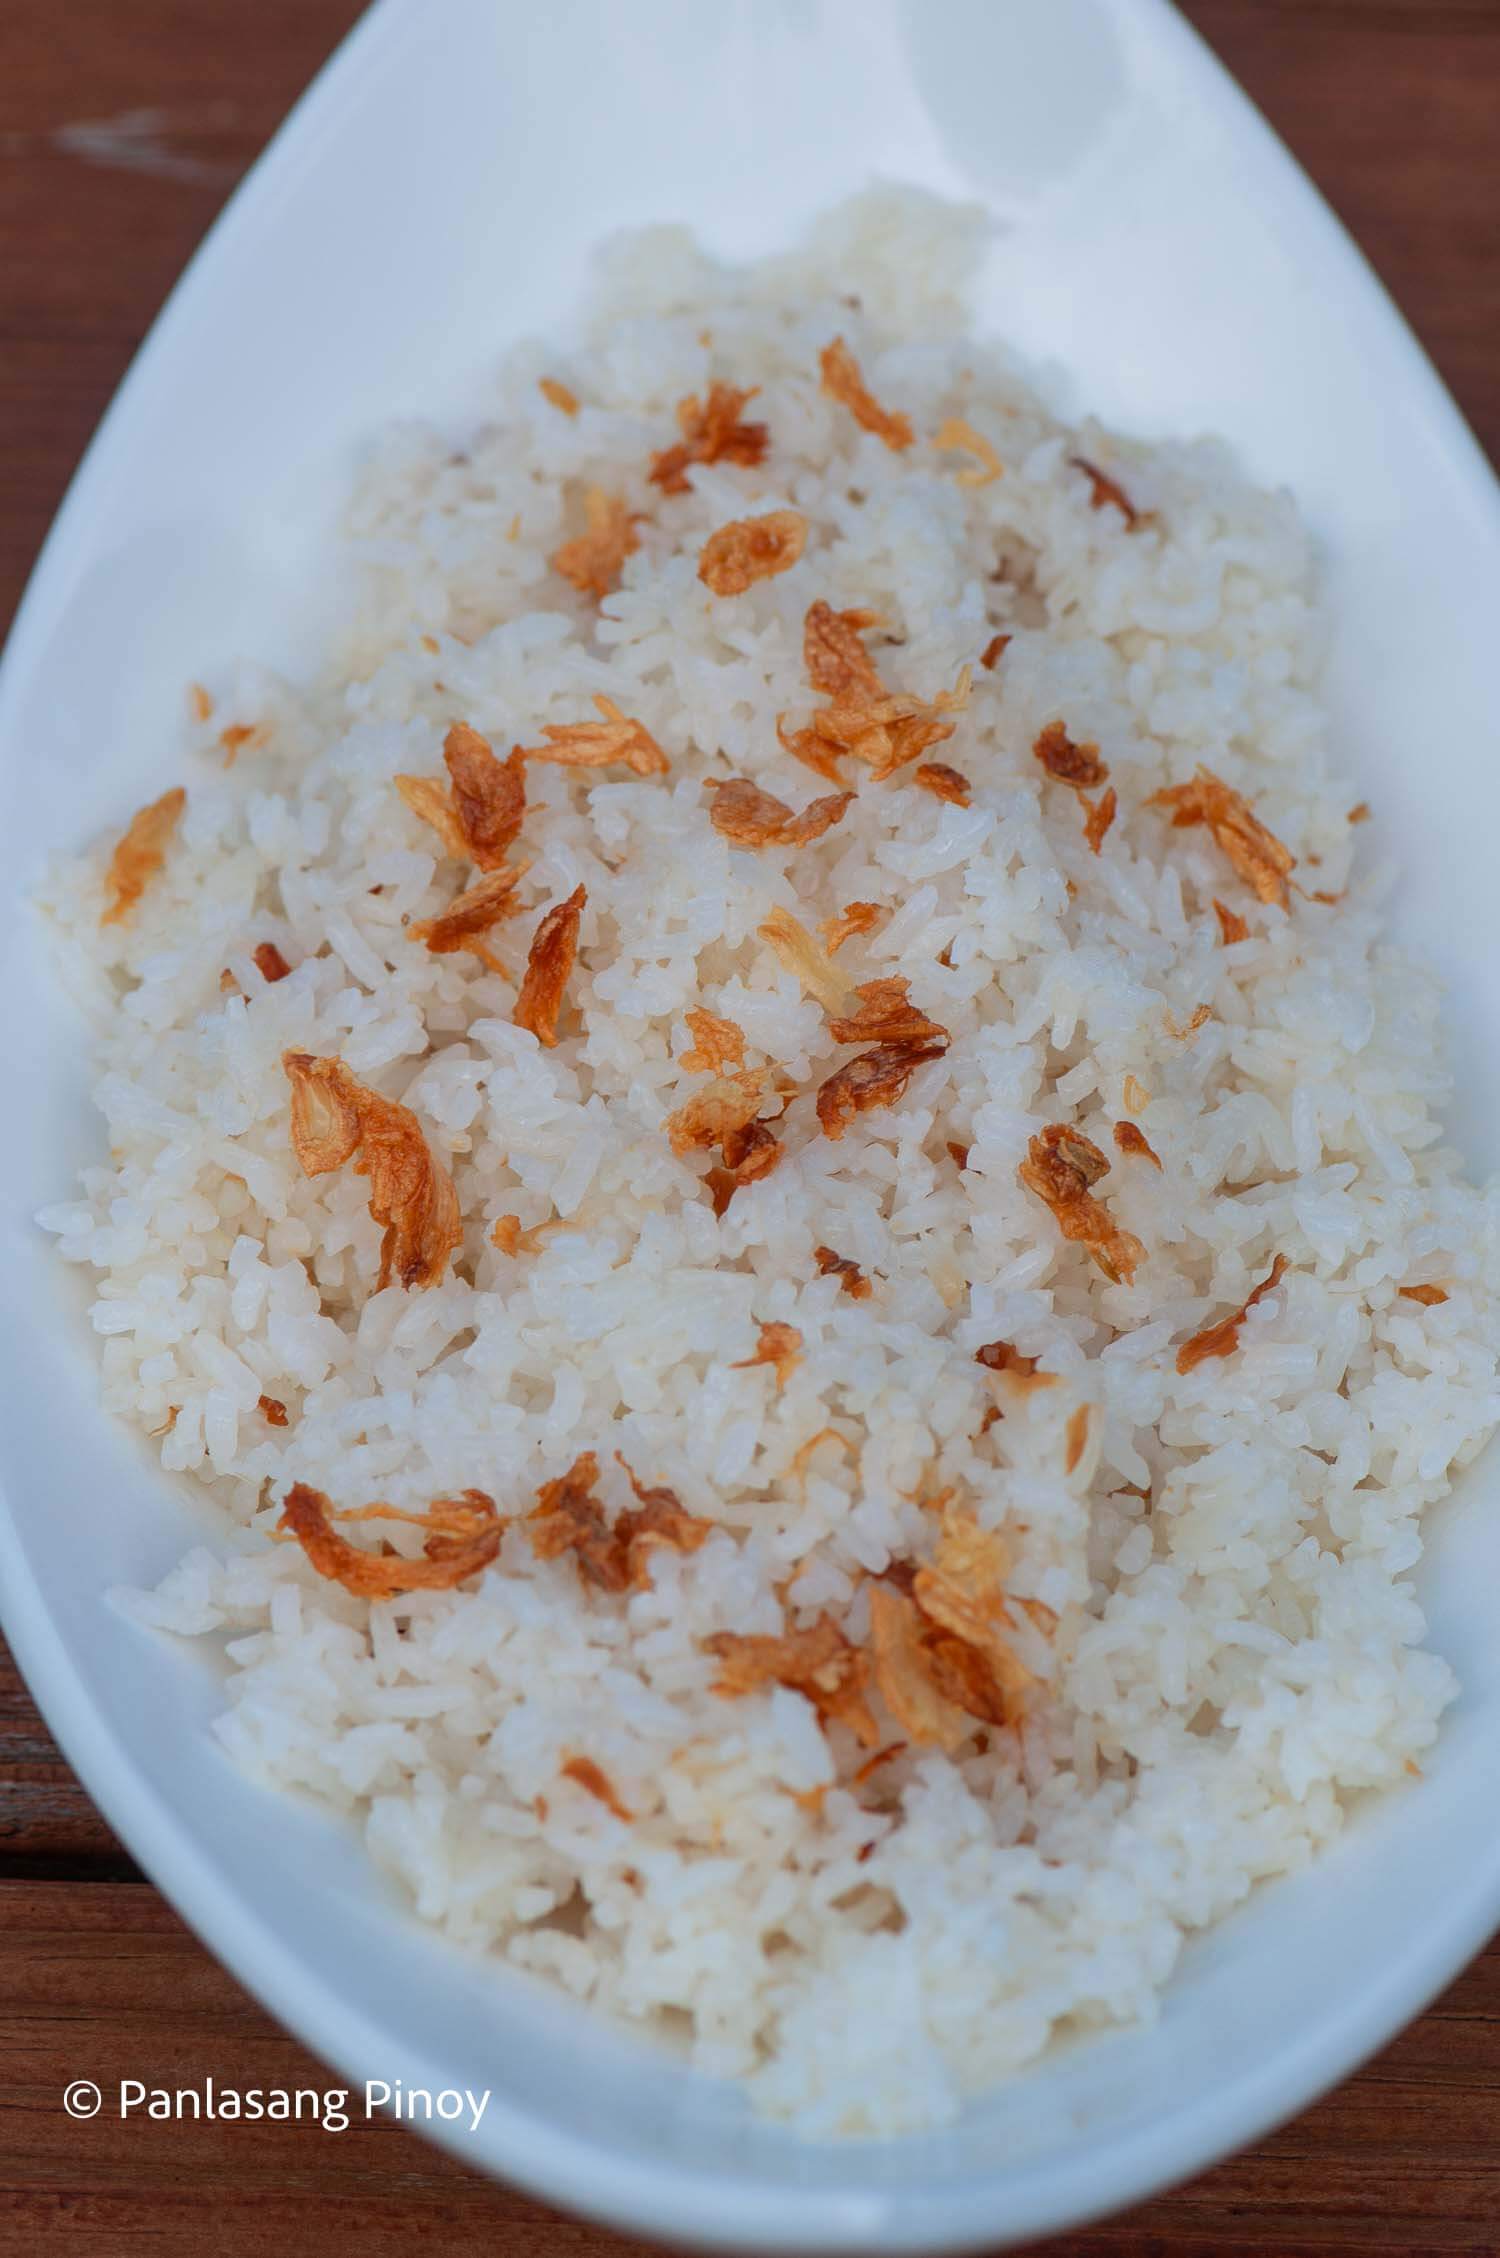
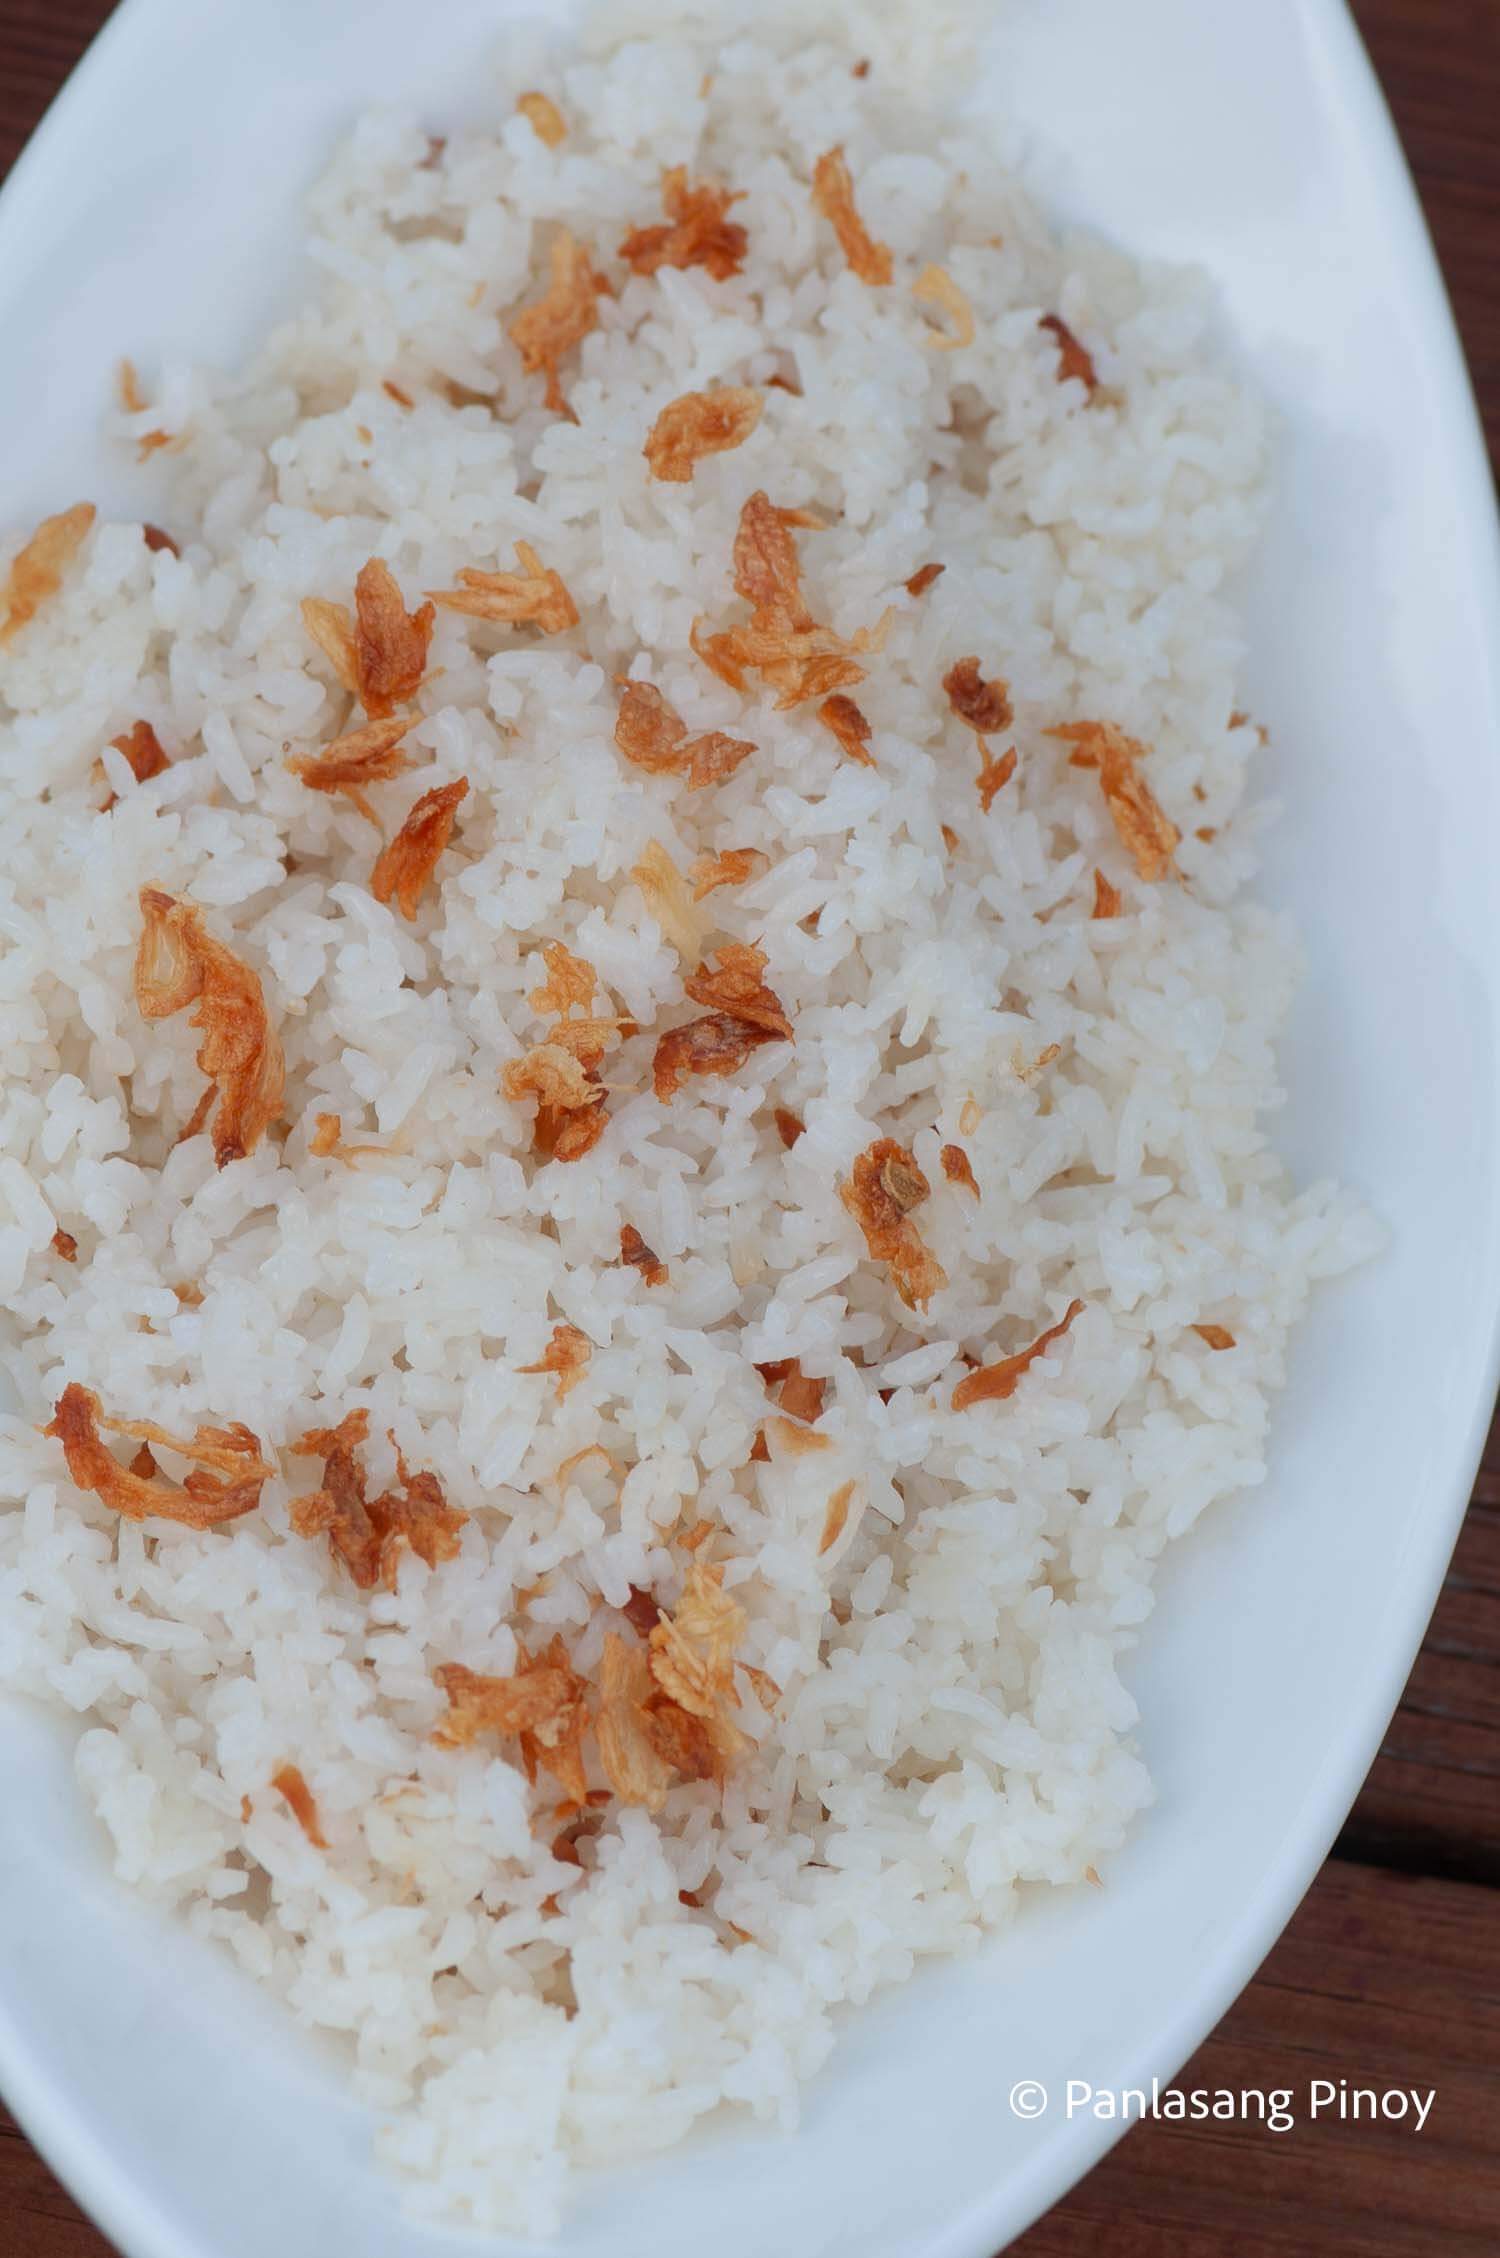
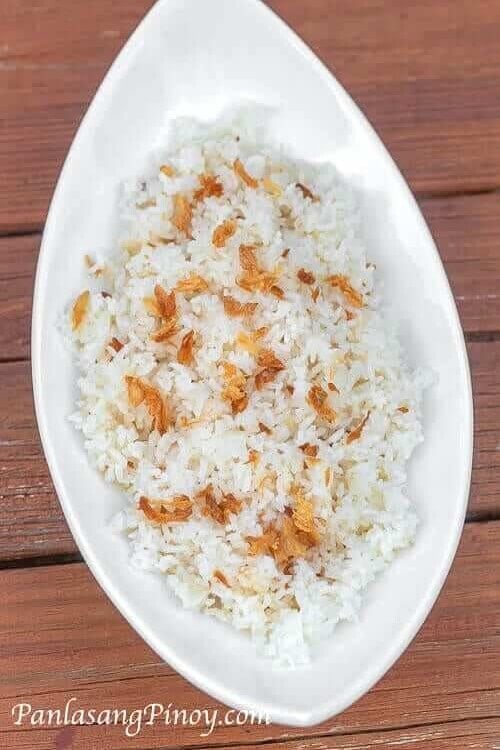
Sinangag is a popular Filipino rice recipe that involves stir-frying rice with garlic. It is a simple way to cook your leftover rice, but it can do wonders for your meals with its simple savory flavor.
This post may contain affiliate links. Please read our disclosure policy.
Garlic in hot oil. That alone is enough to make anyone hungry. For many of us who grew up in the Philippines, the smell of toasted garlic first thing in the morning meant one thing – breakfast was ready. And more often than not, that breakfast was sinangag.

Sinangag was one of my go to side dishes growing up. My mom taught me how to cook it when I was 12 years old. I would usually pair it with Filipino Omelet, which is another easy favorite made with tomatoes and onions. It went with everything: fried eggs, tapa, longganisa, hotdogs, or even leftovers from last night’s dinner. It was quick to prepare, made use of leftover rice, and instantly turned a simple plate into something special.
I also remember enjoying it with dishes like Ginisang Sardinas, which was actually a very normal and delicious breakfast pairing in our household.
What is Sinangag
Sinangag is Filipino garlic fried rice. It is traditionally made using day old rice and lots of toasted garlic, which gives it that signature aroma and slightly crisp texture. We usually serve it as a base for silog meals, paired with a protein and fried egg.
Sinangag has long been a staple in Filipino homes, but its roots trace back to a time when no food was ever wasted. It has been a part of a bigger cultural value—making the most out of what you have and turning leftovers into comfort food. It became the heart of many silog breakfasts, offering both nourishment and nostalgia with every bite.
If you’re looking for more ways to enjoy garlic rice, you might want to try Tinapa Fried Rice, which is infused with the smoky flavor of tinapa. Another great option is Danggit Silog, which pairs garlic fried rice with crispy dried fish and fried egg.
Ingredients for Sinangag
These are the only ingredients you need to make a good batch of sinangag. Simple, but every element counts.
3 cups cooked white rice – Use leftover rice that has been chilled overnight. It is firmer, less sticky, and ideal for stir frying.
5 cloves garlic, crushed – This is the heart of the dish. Garlic should be crushednot mincedso it toasts well and adds a satisfying crunch.
1/2 teaspoon salt – To bring out the flavor of the rice and garlic. Adjust to taste depending on what you are serving it with.
2 1/2 tablespoons cooking oil – Used for frying the garlic and coating the rice. This gives sinangag its glistening look and prevents sticking.
How to Cook Sinangag
Brown the garlic

Prepare a wide pan as we will be working with quite a lot of rice for this. Put this on your stove, and pour 2 ½ tablespoons of cooking oil into the pan. Apply heat. While the oil is not yet hot, place 5 cloves of garlic you’ve crushed in the pan. Go ahead, and keep this garlic cooking slowly as the oil becomes hot. You will know you are done with this step when your bits of garlic are crunchy and golden brown.
Adding salt

Just for a bit more flavor, you will want to put ½ teaspoon of sea salt over the rice. Mix the salt thoroughly into the rice carefully. Then continue cooking for just 3 to 5 minutes more.
Getting the rice ready

Now that our garlic’s all good to go, we should the salted rice inside. Gently stir this to mix it with our other ingredients. Keep cooking the rice with the garlic and oil for 3 to 5 minutes.
Serving your fried rice

Now you can just move the delicious Sinangag to a serving plate or bowl of choice. You now have Pinoy fried rice that’s perfect for 3!
Helpful Tips
- Use day old rice
Freshly cooked rice is too soft and sticky. Chilled rice gives you better texture and separation. - Cook garlic low and slow
Browning garlic takes patience. Rushing it will lead to burning, which adds bitterness. - Use a wide pan
More space in the pan allows for even heating and easier mixing. Avoid overcrowding. - Reserve some garlic for topping
Fried garlic on top gives extra crunch and makes the dish look more appetizing. - Taste before adding more salt
Remember, if you’re serving it with salty dishes like tapa or longganisa, keep the rice lightly seasoned.
More Fried Rice Recipes
- Egg Fried Rice: A great go-to for me when it comes to celebrations is Egg Fried Rice. Egg Fried Rice is a good side dish that’s simple to cook. The ingredients are simple, and it is delicious.
- Tocino Fried rice: If you are looking for a quick and easy meal, this Tocino Fried Rice recipe is the way to go. It only takes about 20 minutes to cook and the ingredients are likely already in your kitchen.

Looking for more breakfast ideas? Visit our breakfast recipes collection and discover more dishes that are easy to make, budget friendly, and full of Filipino flavor. Whether you pair it with meat, egg, or veggies, sinangag always brings that familiar taste of home. You can even take it further by experimenting with toppings like scrambled eggs, sautéed mushrooms, or leftover adobo flakes for a more filling breakfast experience. Sinangag also makes a great base for rice bowls, especially when you top it with your favorite ulam and a fried egg. It is a great way to repurpose leftovers and make them feel new again.
Did you make this? If you snap a photo, please be sure tag us on Instagram at @panlasangpinoy or hashtag #panlasangpinoy so we can see your creations!

Sinangag Recipe (Filipino Fried Rice)
Ingredients
- 3 cups cooked white rice
- 5 cloves crushed garlic
- 1/2 teaspoon salt
- 2 1/2 tablespoons cooking oil
Instructions
- Heat the cooking oil in a wide pan.
- While the cooking oil is being heated, add the crushed garlic. Note: make sure that the oil is not hot when you add the garlic. Let the garlic slowly cook while the oil gets heated until it becomes golden brown and crisp.
- Sprinkle the salt over the rice. Toss until the salt gets distributed evenly.
- Gradually add the the rice into the pan. Stir to distribute the ingredients. Continue to stir fry for 3 to 5 minutes.
- Transfer to a serving plate. Serve with your favorite dish.
- Share and enjoy!


Charles says
A dear Filipina friend in Manila has turned me on to Filipino food. I’ve tried many recipes and always look here for authentic ones. I love buko pie!
Michelle Solomo says
Thanks for the recipe, this is my go to if I have left over rice. Living in Belgium I have to copy paste the print of you’re recipes because of the lbs, ounce, and cups (we do have measuring cups and table -teaspoons) and of course I copy paste the link on footnote.
Vanjo Merano says
I appreciate the feedback, Michelle. Have a wonderful day there in Belgium.
Shely says
Thanks to your recipe. My kids love it! God bless!
Vanjo Merano says
You are welcome.
Steve says
May I suggest something to make your website even better & more practical?
Please add a PRINT BUTTON on every recipe.
Many of your readers probably want to actually try out your recipe, but in order to bring these instructions to the kitchen, we may want to print it out first so that they will be easier to follow.
Vanjo Merano says
I appreciate the suggestion, Steve. I am in the process of rolling this update for newer recipes. I also had the older recipes scheduled for the print button update and it should take effect soon.
Angie says
You can actually copy paste the recipe to microsoft word. That is what I always do. Thank you and God bless.