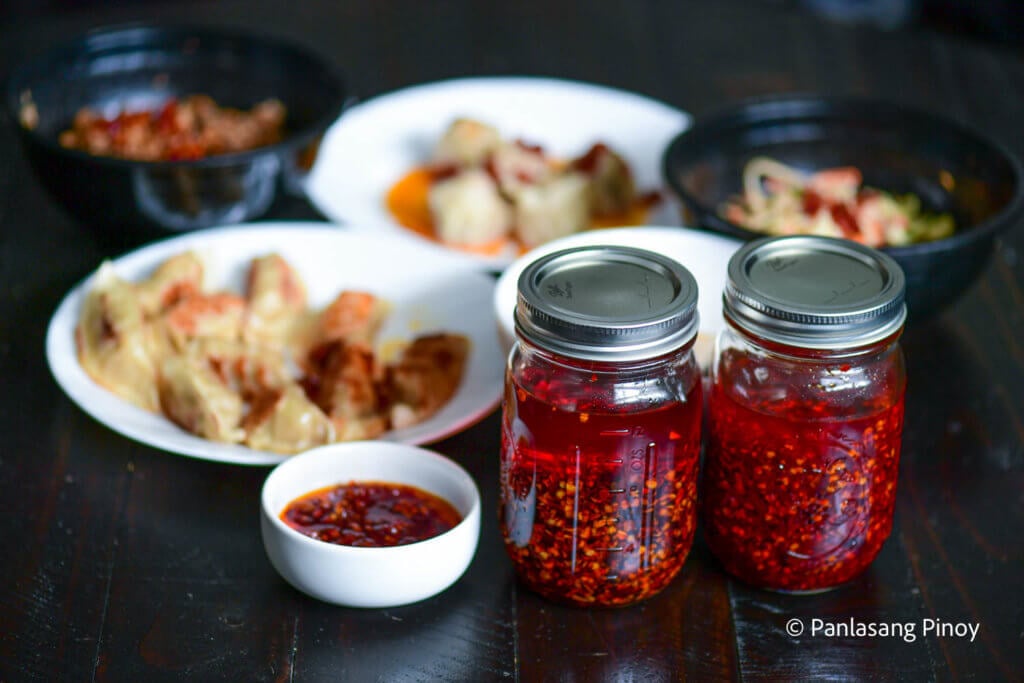
Chili Garlic Oil Recipe
I make chili garlic oil at home all the time. It goes with so many dishes and I honestly can’t imagine our table without it. This chili garlic oil recipe uses fresh Thai chili peppers and two whole heads of garlic cooked low and slow in canola oil. A piece of star anise and a couple of bay leaves go in during cooking, and the finished chili garlic oil gets a stir of hoisin sauce and brown sugar right at the end. Homemade chili garlic oil is so much better than anything from the store. Once you make your own chili garlic oil, you probably won’t go back to buying jars.
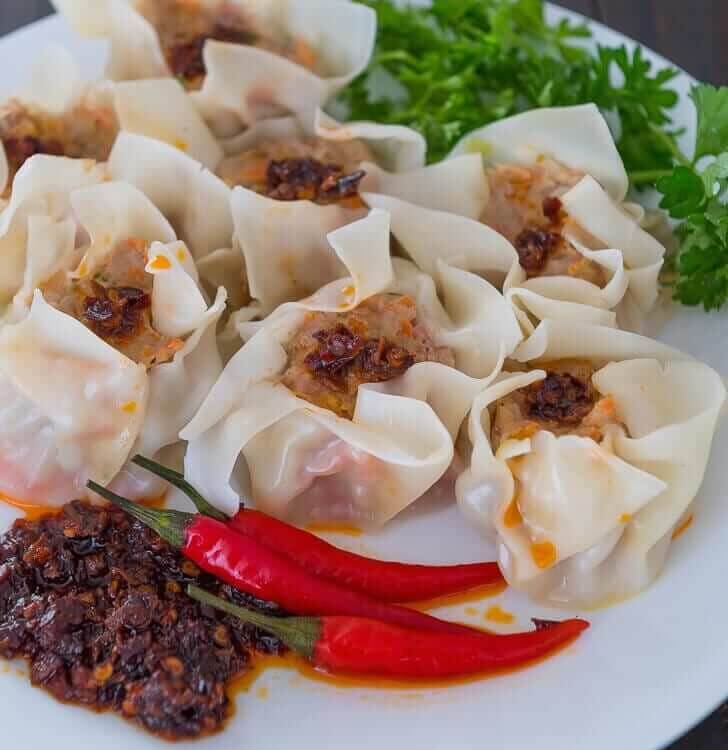
We use it on siomai at our house almost every week. My kids put it on everything. I sometimes catch them spooning it over plain rice when they think I’m not looking.
The trick is really just patience. Keep the heat on the lowest setting the entire time. I burned a batch once because I got impatient and turned the heat up to medium. The garlic turned dark, the oil went bitter, and I had to toss the whole thing. Low and slow is the only way.
What is Chili Garlic Oil?
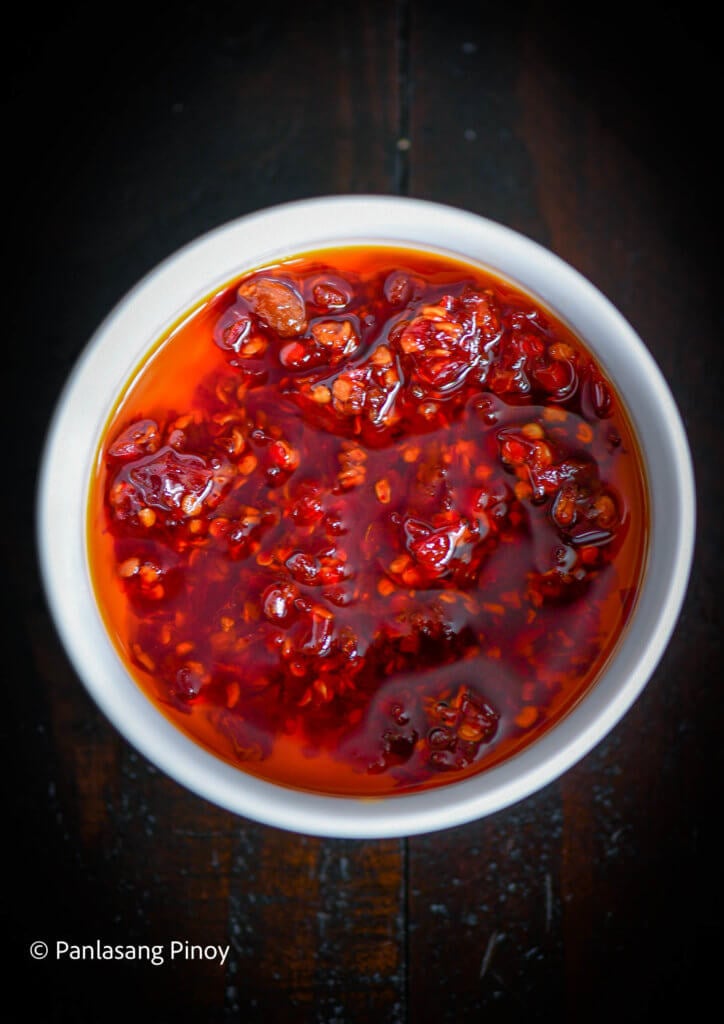
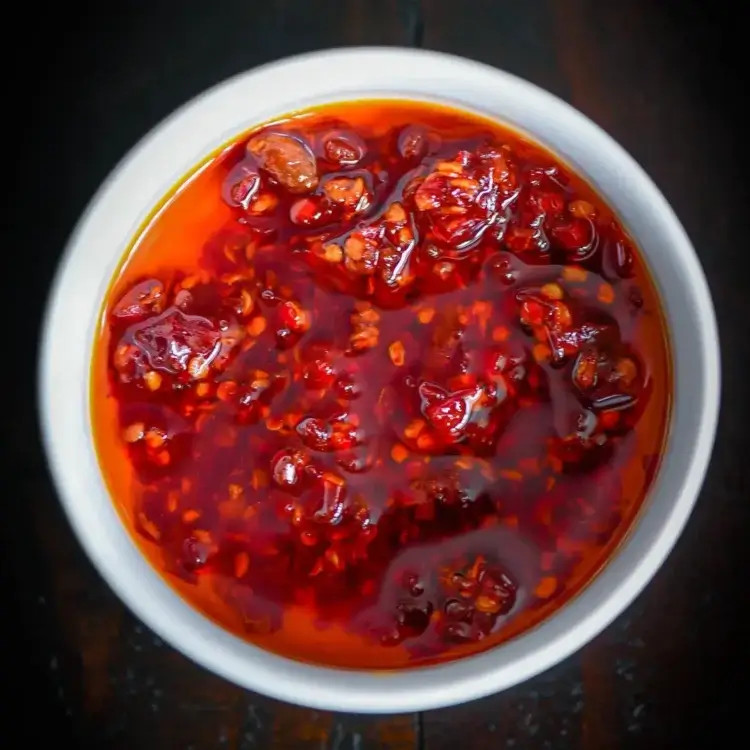
Most of you have probably seen those jars of red oil sitting next to the soy sauce at dim sum restaurants and siomai stands. That’s chili garlic oil. It is a condiment made by cooking chili peppers and garlic in oil over low heat until all the flavor gets absorbed.
It came from Chinese cooking, where it’s been around for a very long time, especially in Sichuan cuisine. Filipinos picked it up through Chinese-Filipino food culture, and now you see it everywhere. We pair it with goto, pancit, tokwa’t baboy, fried rice, even just plain lugaw on a cold morning. It’s become as much a part of how we eat as toyomansi or fish sauce.
I use fresh Thai chili peppers for this instead of dried flakes. Dried flakes work, but fresh peppers give you a brighter color and a sharper, cleaner heat. The star anise and bay leaves are what really make this version different from most basic garlic chili oil recipes you see online.
Why This Chili Garlic Oil Recipe Works
I’ve been making this for a while now, and these are the things that I think make the biggest difference.
- Cooking everything on the lowest heat setting – The garlic doesn’t burn, and the oil has enough time to slowly pull all the flavor out of the chilies and garlic
- Fresh Thai chili peppers – They give the oil a more vibrant red and a cleaner, sharper heat compared to dried flakes, which can taste a bit dusty
- Star anise and bay leaves cooked in the oil – Star anise gives it a slight sweetness, and the bay leaves give it a mild herbal scent. You’ll notice the difference if you skip them.
- Hoisin sauce and brown sugar stirred in after the heat is off – Mixing these in while the oil is still hot but the stove is already turned off keeps the sugars from burning and gives the whole batch a gentle savory sweetness
- A tablespoon of white vinegar – This cuts through the richness and also helps keep the oil fresh longer in the jar
Ingredients
- Fresh Thai chili peppers – The heat in this condiment comes from these peppers, which have a bright, sharp spiciness
- Garlic – Two full heads. Don’t be shy with it.
- Canola oil – Neutral and has a high smoke point so you taste the chili and garlic, not the oil
- Star anise – Gives the oil a faint sweetness that you can’t quite place but would definitely miss
- Bay leaves – Mild herbal scent that comes through during the slow cook
- Hoisin sauce – Savory and a little sweet. It gives the finished oil more depth.
- White vinegar – Helps balance the richness and keeps the oil from going bad too quickly
- Brown sugar – Just a small amount. It softens everything out.
- Salt – Seasons the whole batch
Vanjo’s Advice
- Cut the garlic and chilies to about the same size. When one is too fine and the other is still chunky, the garlic darkens way before the chili has had a chance to release its flavor. I’ve had this happen. The garlic was almost black while the chili was still bright red.
- A food processor is your best friend here. Chopping all of it by hand works, but it takes forever and your hands will sting from the peppers. A food processor gets it done in a minute. If you only have a blender, pour some of the oil in first to help the blades move.
- Stay near the stove. I know I said the heat is low, but garlic can still go from golden to burnt faster than you’d expect. Stir it every few minutes. I keep a wooden spoon nearby the entire time.
- Pull the star anise and bay leaves out at 30 minutes. Not later. I left them in too long once and the oil tasted a bit medicinal. Set a timer
- Don’t put hot oil into a mason jar. I cracked a jar this way when I was in a rush. Let the oil cool completely on the stove before you transfer it.
How to Cook Chili Garlic Oil
This is easier to make than most people think. Take it step by step and you’ll have a fresh jar of chili garlic oil ready in about an hour.
Prepare the Chili and Garlic
- Mince the fresh Thai chili peppers and garlic using a food processor, blender, or by hand.
- If using a blender, pour in some of the canola oil first so the blades can move smoothly.
I prefer the food processor. You get more control over how fine the pieces are. You want them small, but not a paste.
Cook the Mixture in Oil
- Pour the canola oil into a pan and add the minced chili peppers and garlic.
- Turn the heat to the lowest setting and drop in the star anise and bay leaves.
- Cook for 30 minutes, stirring every few minutes.
- Take out the star anise and bay leaves, then stir in the white vinegar.
Listen for a very gentle bubble. If the oil is popping or sizzling loudly, your heat is too high. Turn it down.
Season and Store
- Keep cooking until the chilies turn dark. That usually takes about 10 minutes after the vinegar goes in.
- Turn the heat off. Stir in the hoisin sauce, brown sugar, and salt until everything is mixed in well.
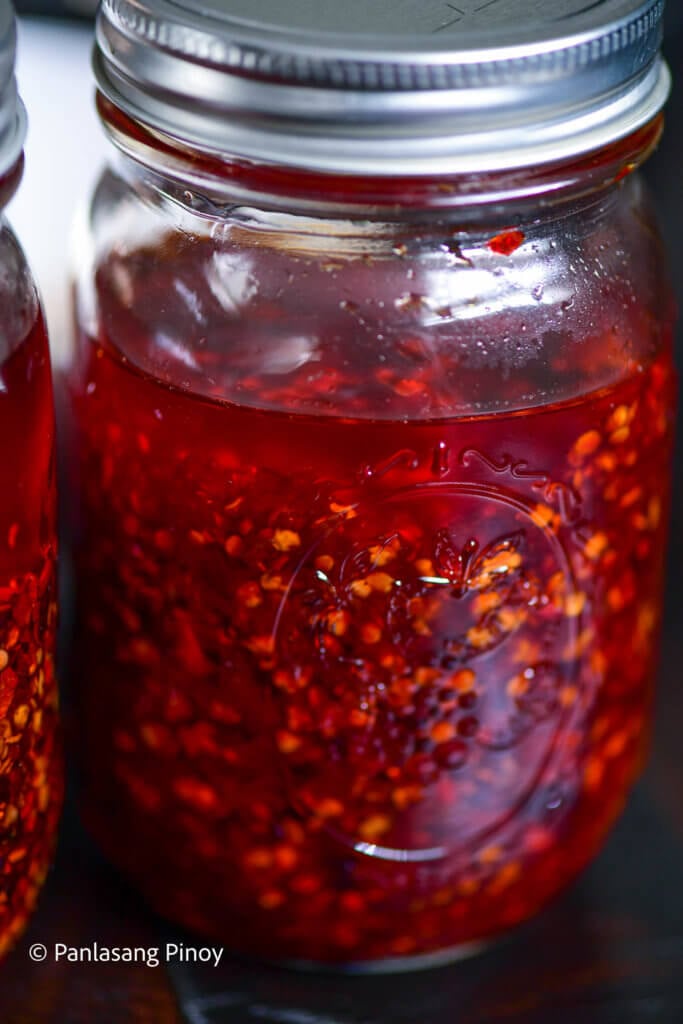
Let the chili garlic oil sit on the stove until it cools down to room temperature. Then transfer it to a clean mason jar. You can use it right away.


Storage
A jar of this chili garlic oil usually doesn’t last more than a couple of weeks in our house. But if yours somehow survives that long, here’s how to store it.
- Refrigerator: Keep it in a clean, airtight mason jar. It stays good for up to 3 months in the fridge. The oil thickens when cold but goes back to normal once it sits out for a bit.
- Freezer: You don’t need to freeze it. The oil and vinegar keep it stable in the refrigerator for a long time.
- Reheating: No need to reheat. Just let the jar sit on the counter for 15 to 20 minutes before using so the oil flows again.
More Condiment and Sauce Recipes
- Chili Oil – A bigger batch version with Thai chili peppers, oyster sauce, and Maggi seasoning
- Filipino Vinegar Dipping Sauces – Three versions of sawsawan, including a spicy vinegar
- Sinamak – spiced vinegar dipping sauce
- Asian Dipping Sauce – simple dipping sauce similar to toyomansi
Pro Tips
- Keep the heat at the lowest setting the whole time – No step in this recipe needs medium or high heat
- Only stir in the hoisin after turning the stove off – Hoisin has sugar in it and will stick to the pan and burn if the heat is still on
- Always scoop from the jar with a clean, dry spoon – Any water that gets into the oil can make it spoil faster
- Taste it while it’s still warm and adjust the salt – Much easier to season now than after it’s cold and stored
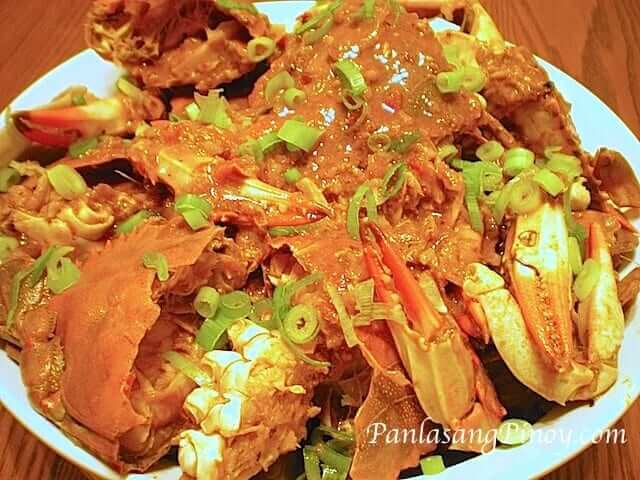
Dishes That Make Use of Chili Oil
- Pork Curry Tinola – A fusion dish that uses chili garlic oil as one of its key ingredients
- Chicken Feet in Oyster Sauce – A Chinese inspired dish that goes great with a drizzle on top
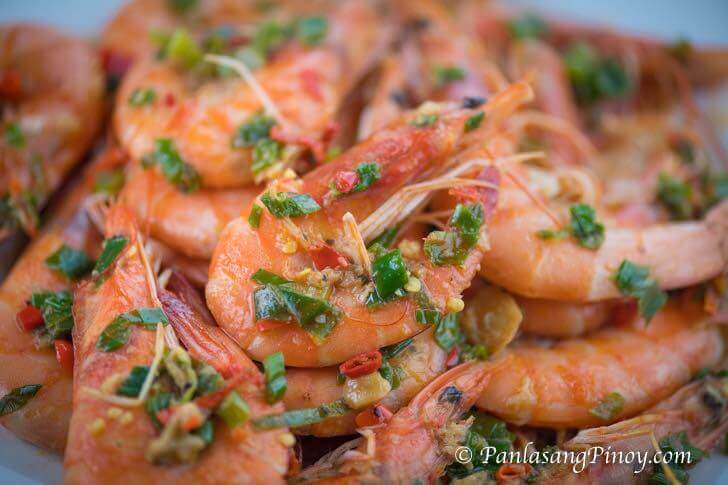
- Chili Garlic Butter Shrimp – Shrimp cooked in a spicy garlic butter sauce
- Spicy Tokwa’t Baboy – Fried tofu and pork in spicy vinegar
- Chili Garlic Shrimp Saute – A quick lunch recipe with garlic and chili flakes in butter
- Spicy Wonton Soup – This is part of the ingredient
Substitutions
- Fresh Thai chili peppers – Serrano peppers if you want it milder. Cayenne if you want a similar heat but slightly different taste.
- Canola oil – Vegetable oil or avocado oil. Any neutral oil with a high smoke point.
- Star anise – You can leave it out. The oil won’t have the same depth, but it will still taste good.
- Hoisin sauce – Oyster sauce is the closest swap. Similar savory sweetness.
- White vinegar – Rice vinegar works and is a little milder.
- Brown sugar – White sugar or a small amount of honey.
Frequently Asked Questions
How long does chili garlic oil last?
About 3 months in the refrigerator if you keep it in a clean, airtight jar. The biggest thing is always using a dry spoon when you scoop from it. Any moisture that gets in will shorten its life.
What kind of oil works best for chili garlic oil?
I use canola oil because it’s neutral and doesn’t get in the way of the chili and garlic flavor. Vegetable oil and avocado oil work too. I wouldn’t use olive oil for this. It has too strong a taste and it competes with everything else.
Can I use dried chili flakes instead of fresh Thai chili peppers?
Yes, but it won’t taste the same. Dried flakes give you a more toasted, smoky kind of heat. Fresh Thai chilies are sharper and brighter, and the color of the oil is a deeper red. If you go with dried flakes, watch them carefully because they burn faster than fresh.
Is chili garlic oil the same as chili crisp?
No. They’re related but different. Chili garlic oil has the garlic and chili cooked right in the oil. Chili crisp, sometimes called crunchy garlic chili oil, usually has fried garlic bits and shallots mixed with chili flakes and spices. Different texture. Both are good, but they’re not the same thing.
How can I make this less spicy?
Use fewer chili peppers and more garlic. You can also scrape out the seeds and the white membrane inside the peppers before mincing. Most of the heat lives there.
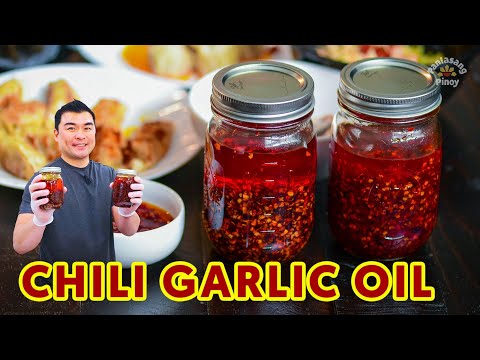
I hope you try making this chili garlic oil at home. It’s so much better fresh, and you can adjust the heat to however you like it. Watch the video above if you want to see the whole process.
Watch How to Make It
Did you make this? If you snap a photo, please be sure tag us on Instagram at @panlasangpinoy or hashtag #panlasangpinoy so we can see your creations!
Chili Garlic Oil Recipe
Ingredients
- ¼ lb. fresh Thai chili pepper
- 2 heads garlic
- 2 cups canola oil
- 1 star anise
- 2 bay leaves
- 1 tablespoon hoisin sauce
- 1 tablespoon white vinegar
- 1 teaspoon brown sugar
- 1 ½ teaspoons salt
Instructions
- Mince the chili peppers and garlic. Note: you can do it manually or use a food processor. It is also possible to use a blender. In case you decide to go with the latter, the oil should also be added.
- Pour the oil in a pan and then add the minced garlic and chili pepper. Adjust the heat to the lowest setting.
- Add star anise and bay leaves. Cook in a low temperature setting for 30 minutes.
- Remove the star anise and bay leaves. Add vinegar. Continue cooking until the chilies turn dark. Note: this usually takes around 10 minutes. Remember to always set the heat to the lowest setting all throughout the process.
- Turn the heat off. Add hoisin sauce, sugar, and salt. Stir until well blended. Let the chili garlic oil cool down to room temperature.
- Transfer the mixture in a mason jar. Serve as a condiment. Share and enjoy!

Jewanie Sison says
I love panlasang pinoy