Chicken Empanada
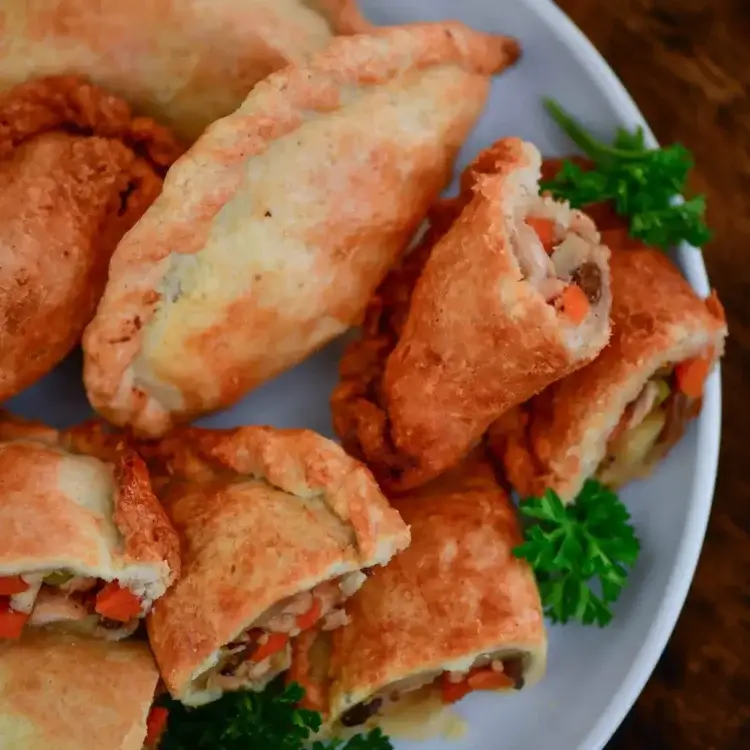
Chicken Empanada is a type of pastry that is stuffed with chicken meat, potato, carrots, and sweet pea.
This post may contain affiliate links. Please read our disclosure policy.
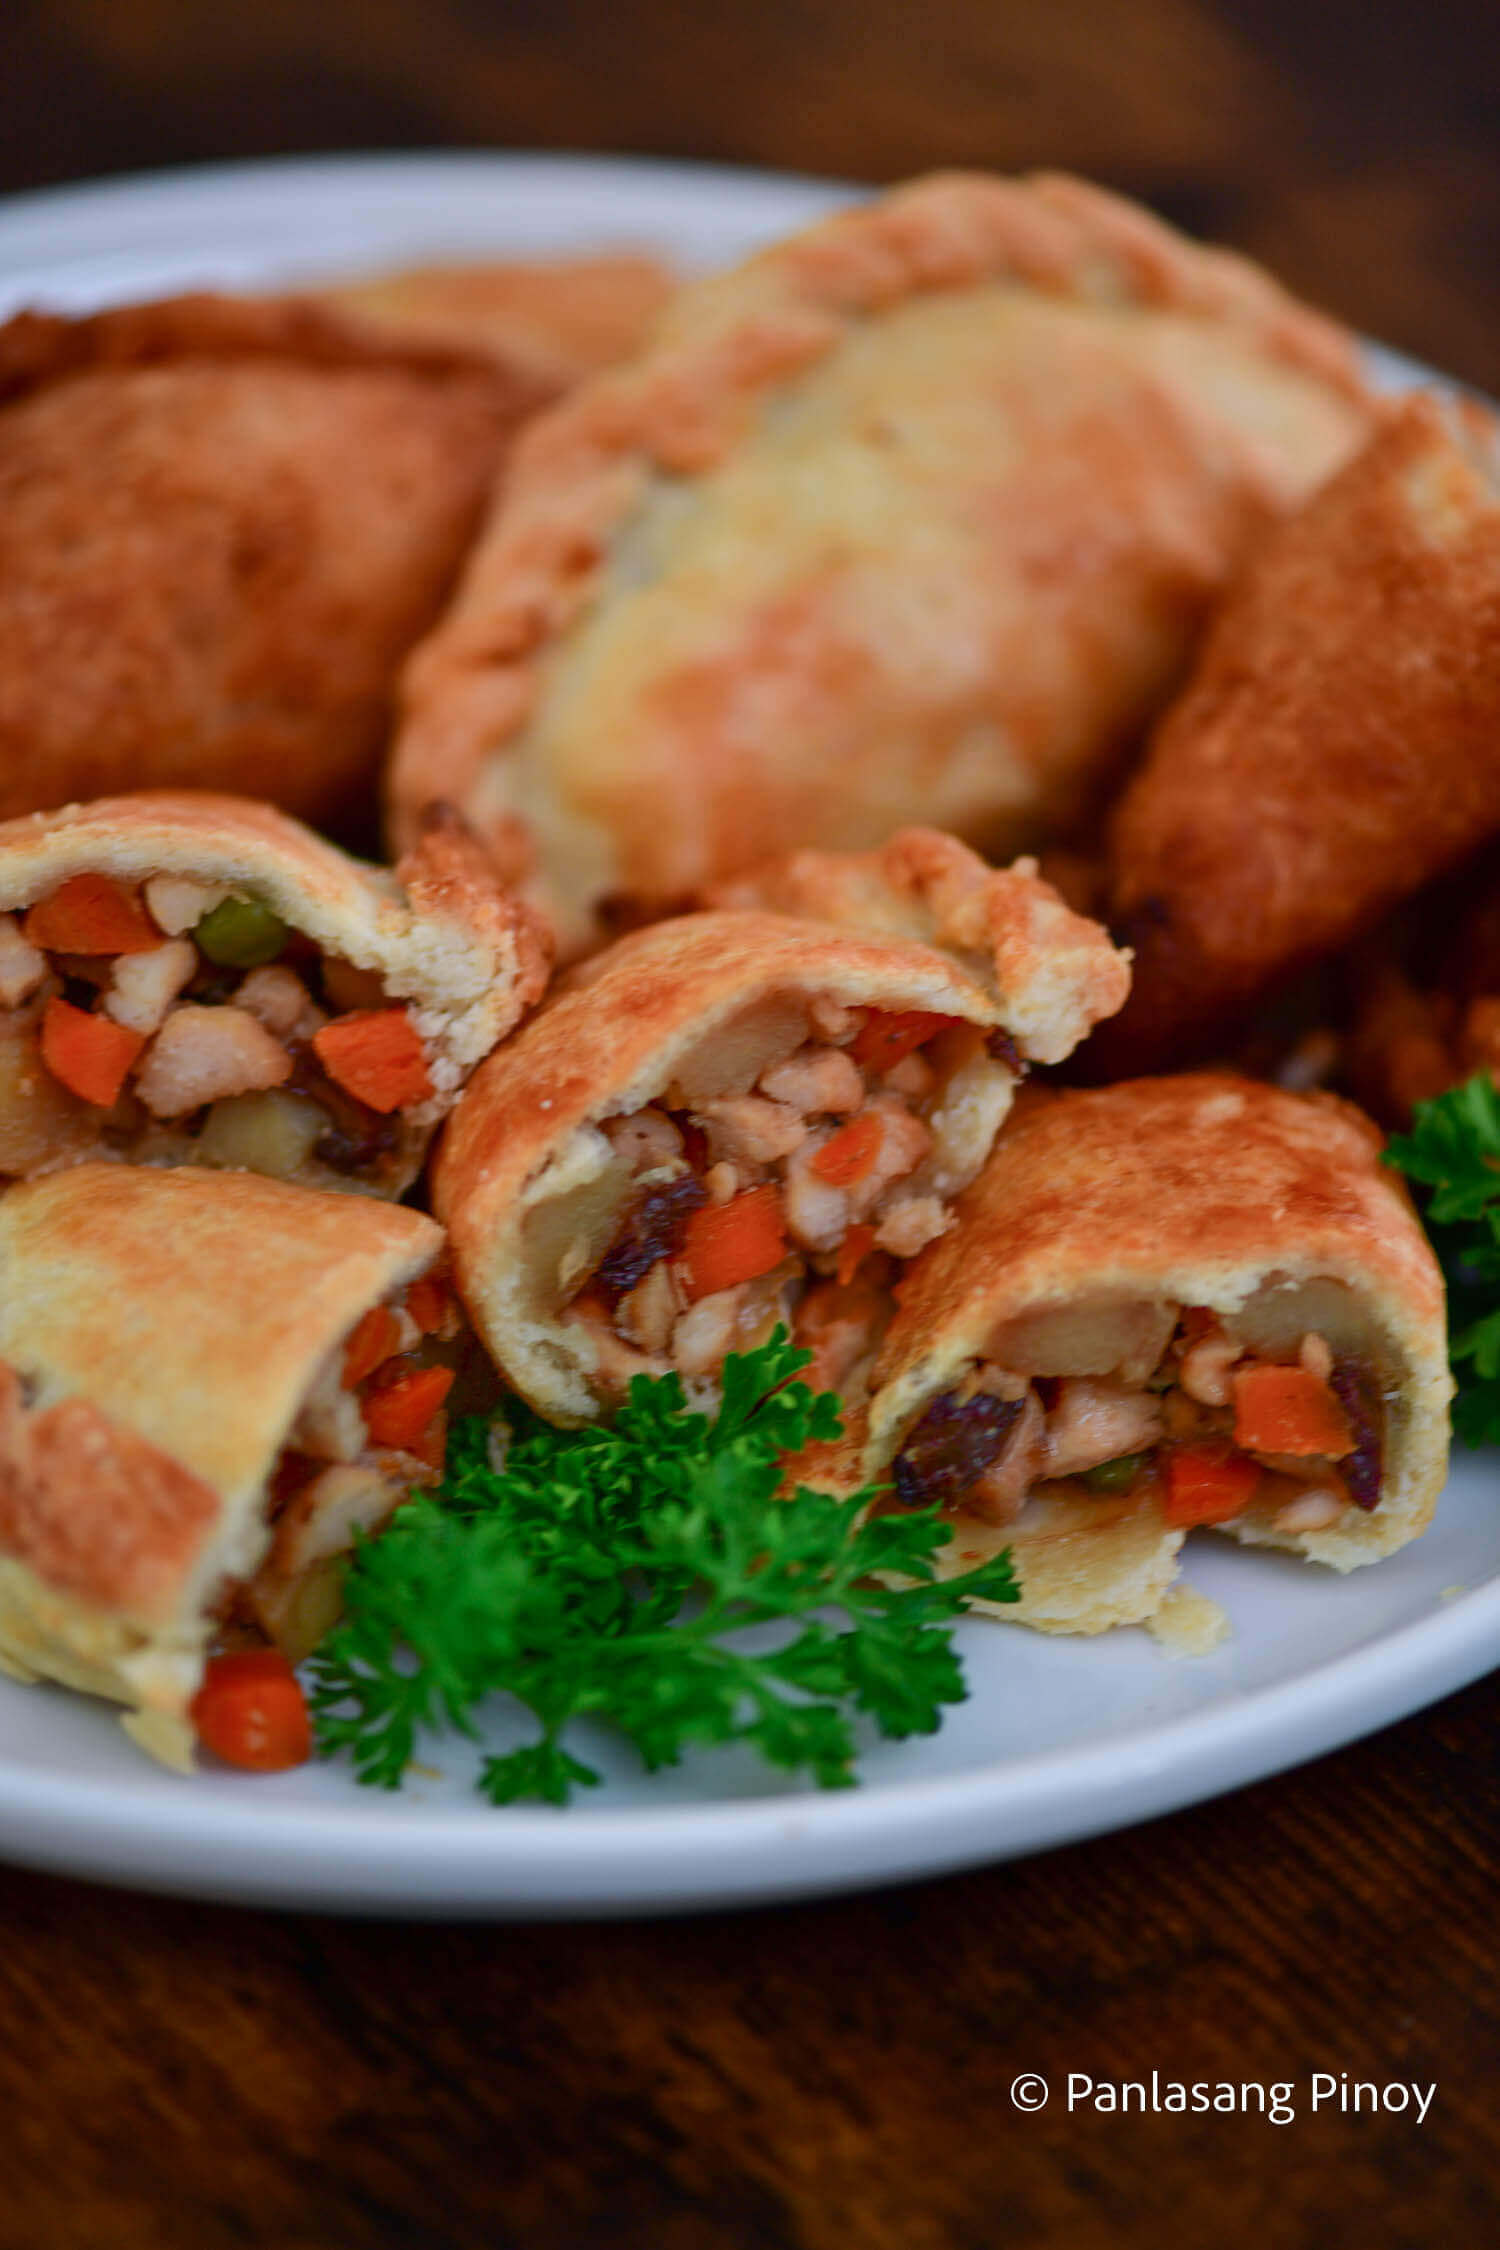
Chicken Empanadas are a simple yet filling and delicious turnover pastry, and despite their compact half moon size are meals in themselves. No pretense necessary –– wonderful and juicy, empanadas are the no-frill snack everyone will love.
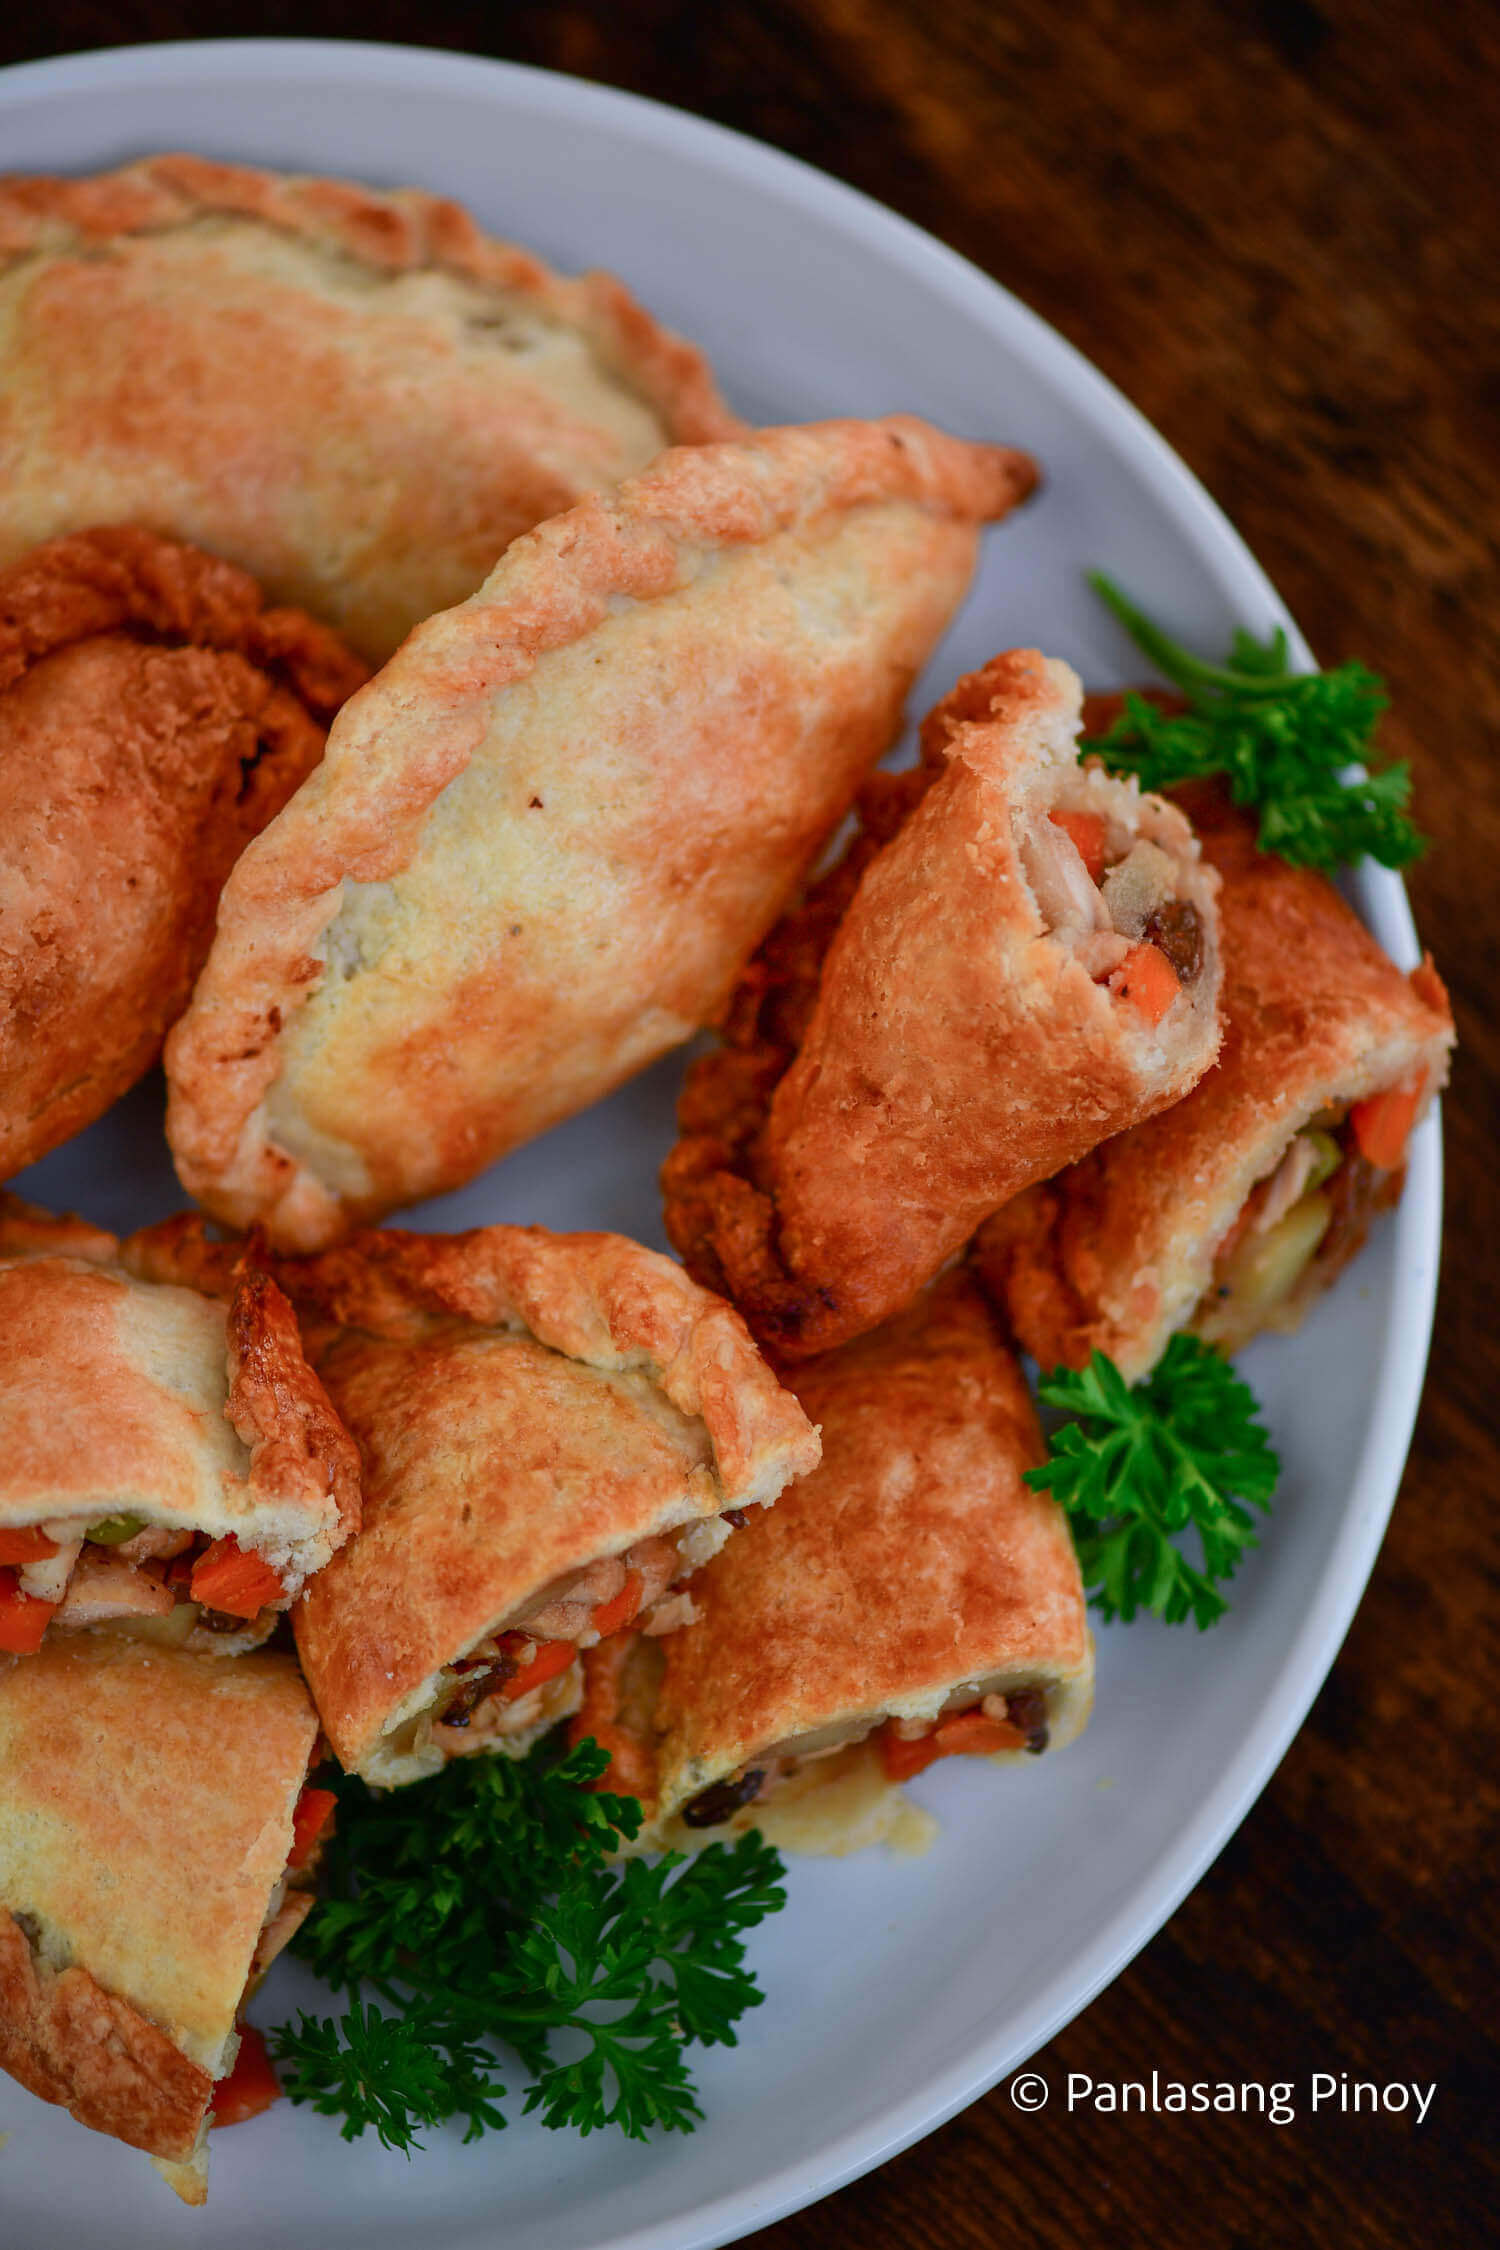
You can fill empanadas up with any type of meat you prefer, whether it’s chicken, beef, or pork you’re after. No matter your filling, combined with the flaky, buttery crust, empanadas are always a pleasure to enjoy with anyone, any time.
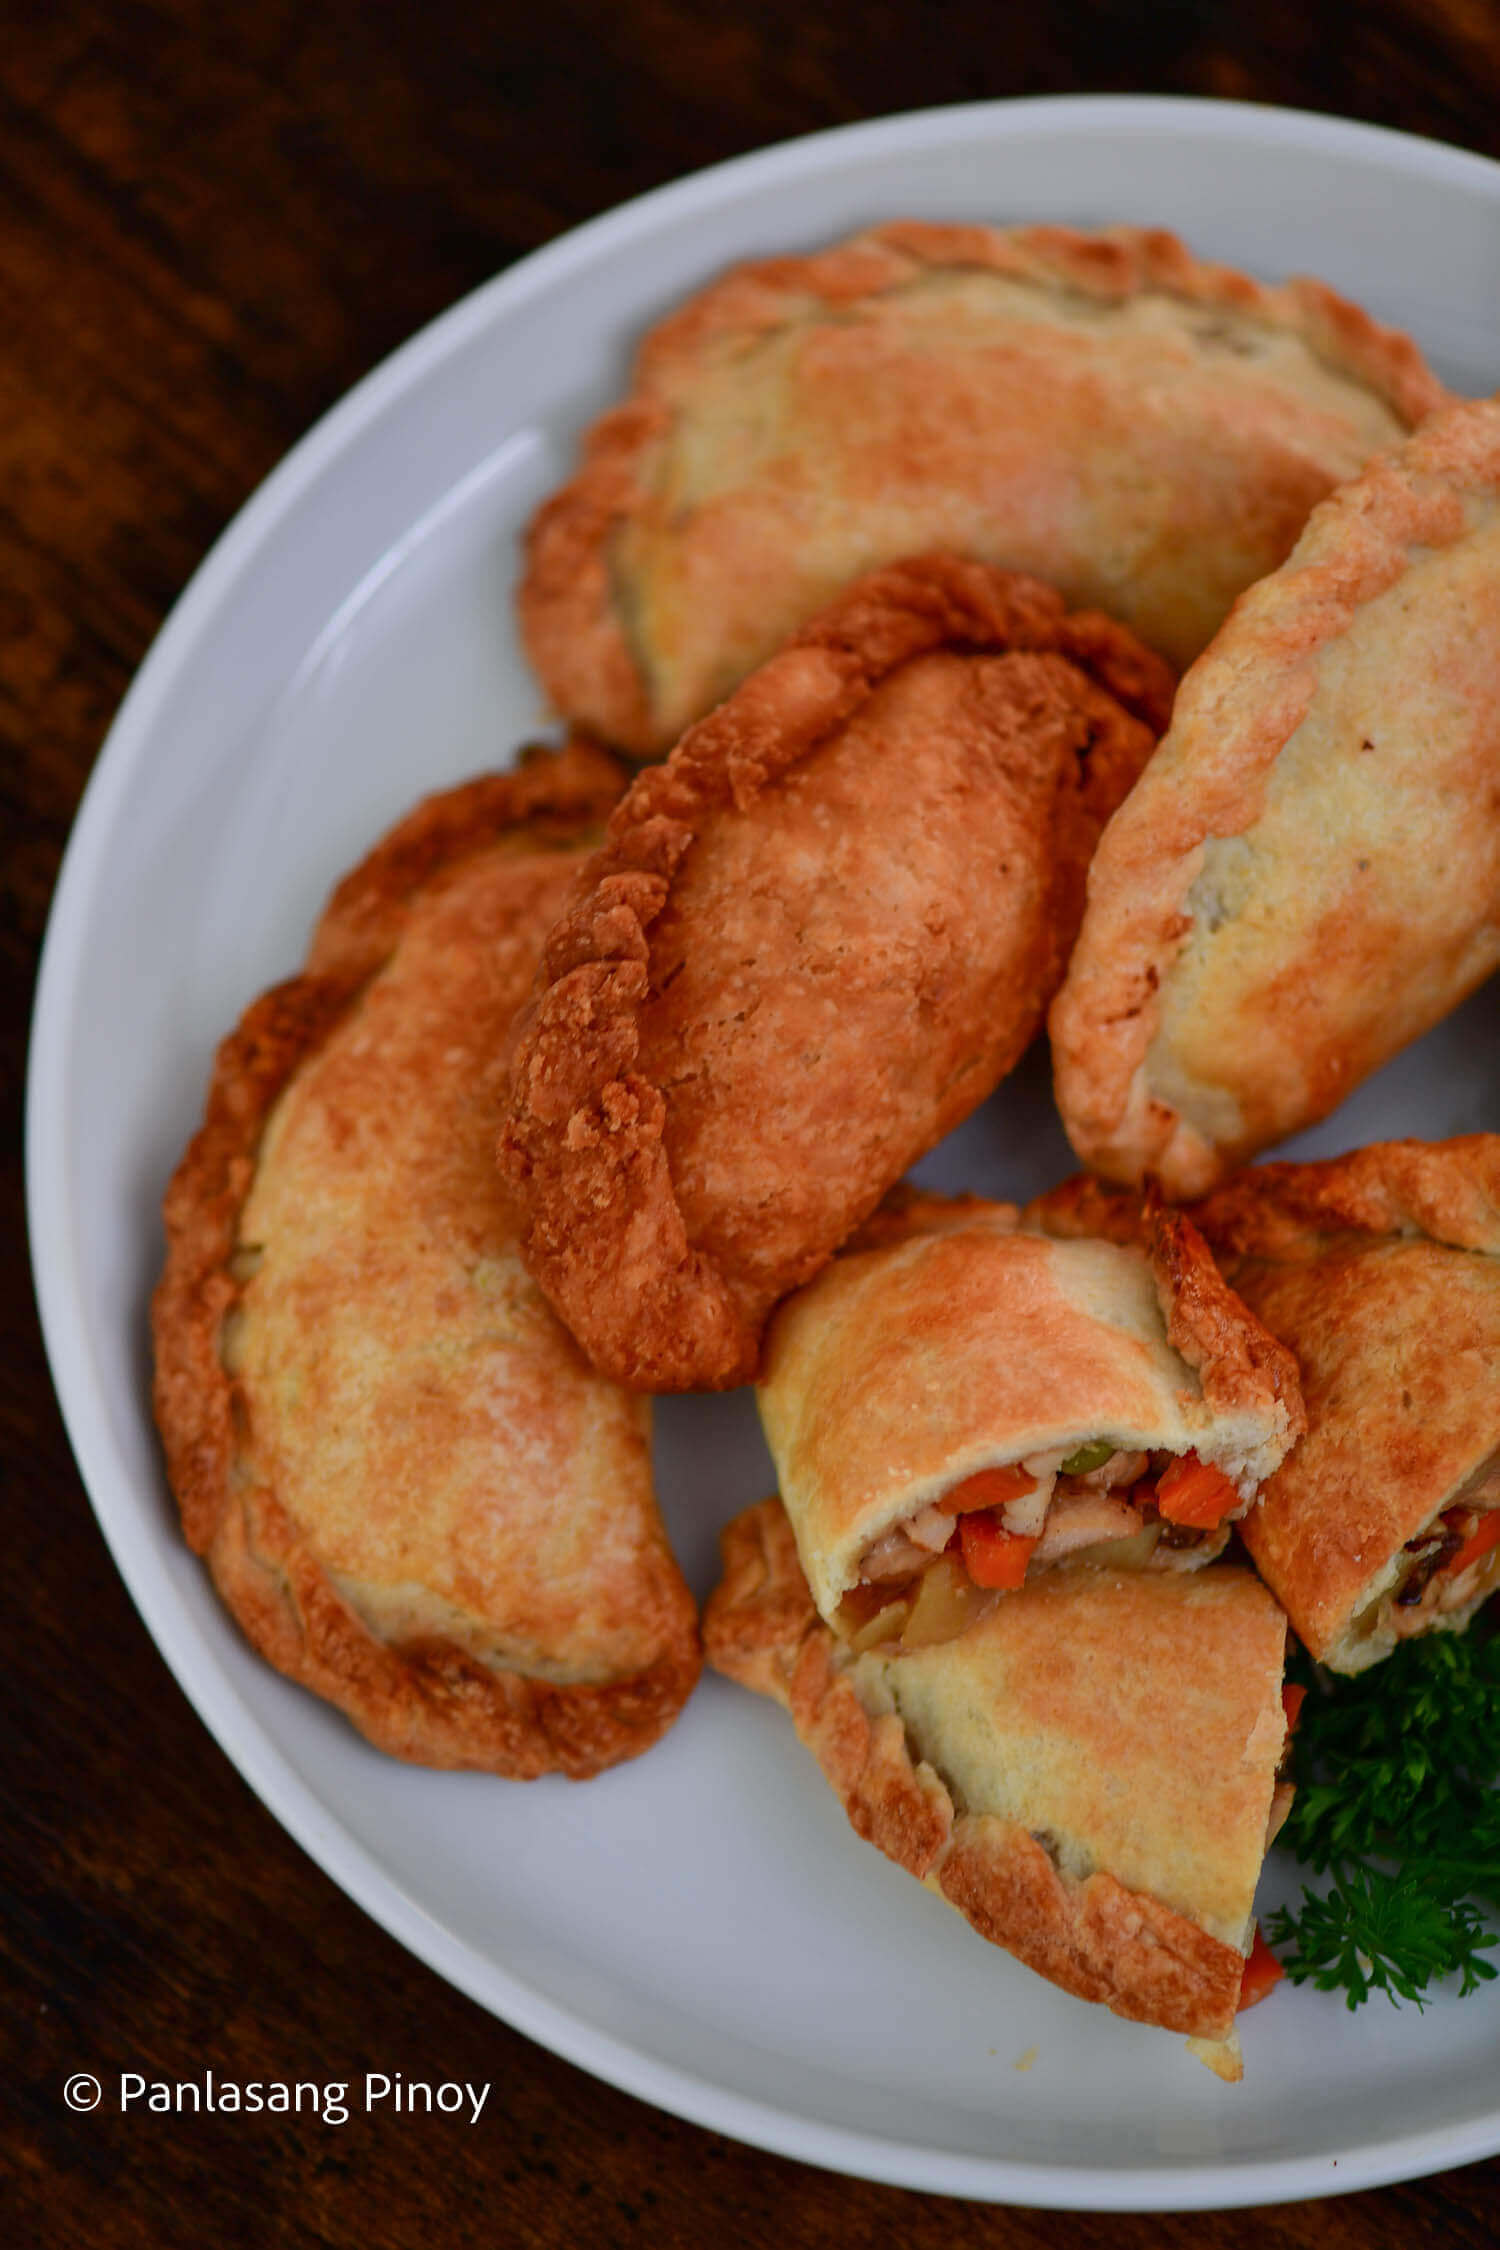
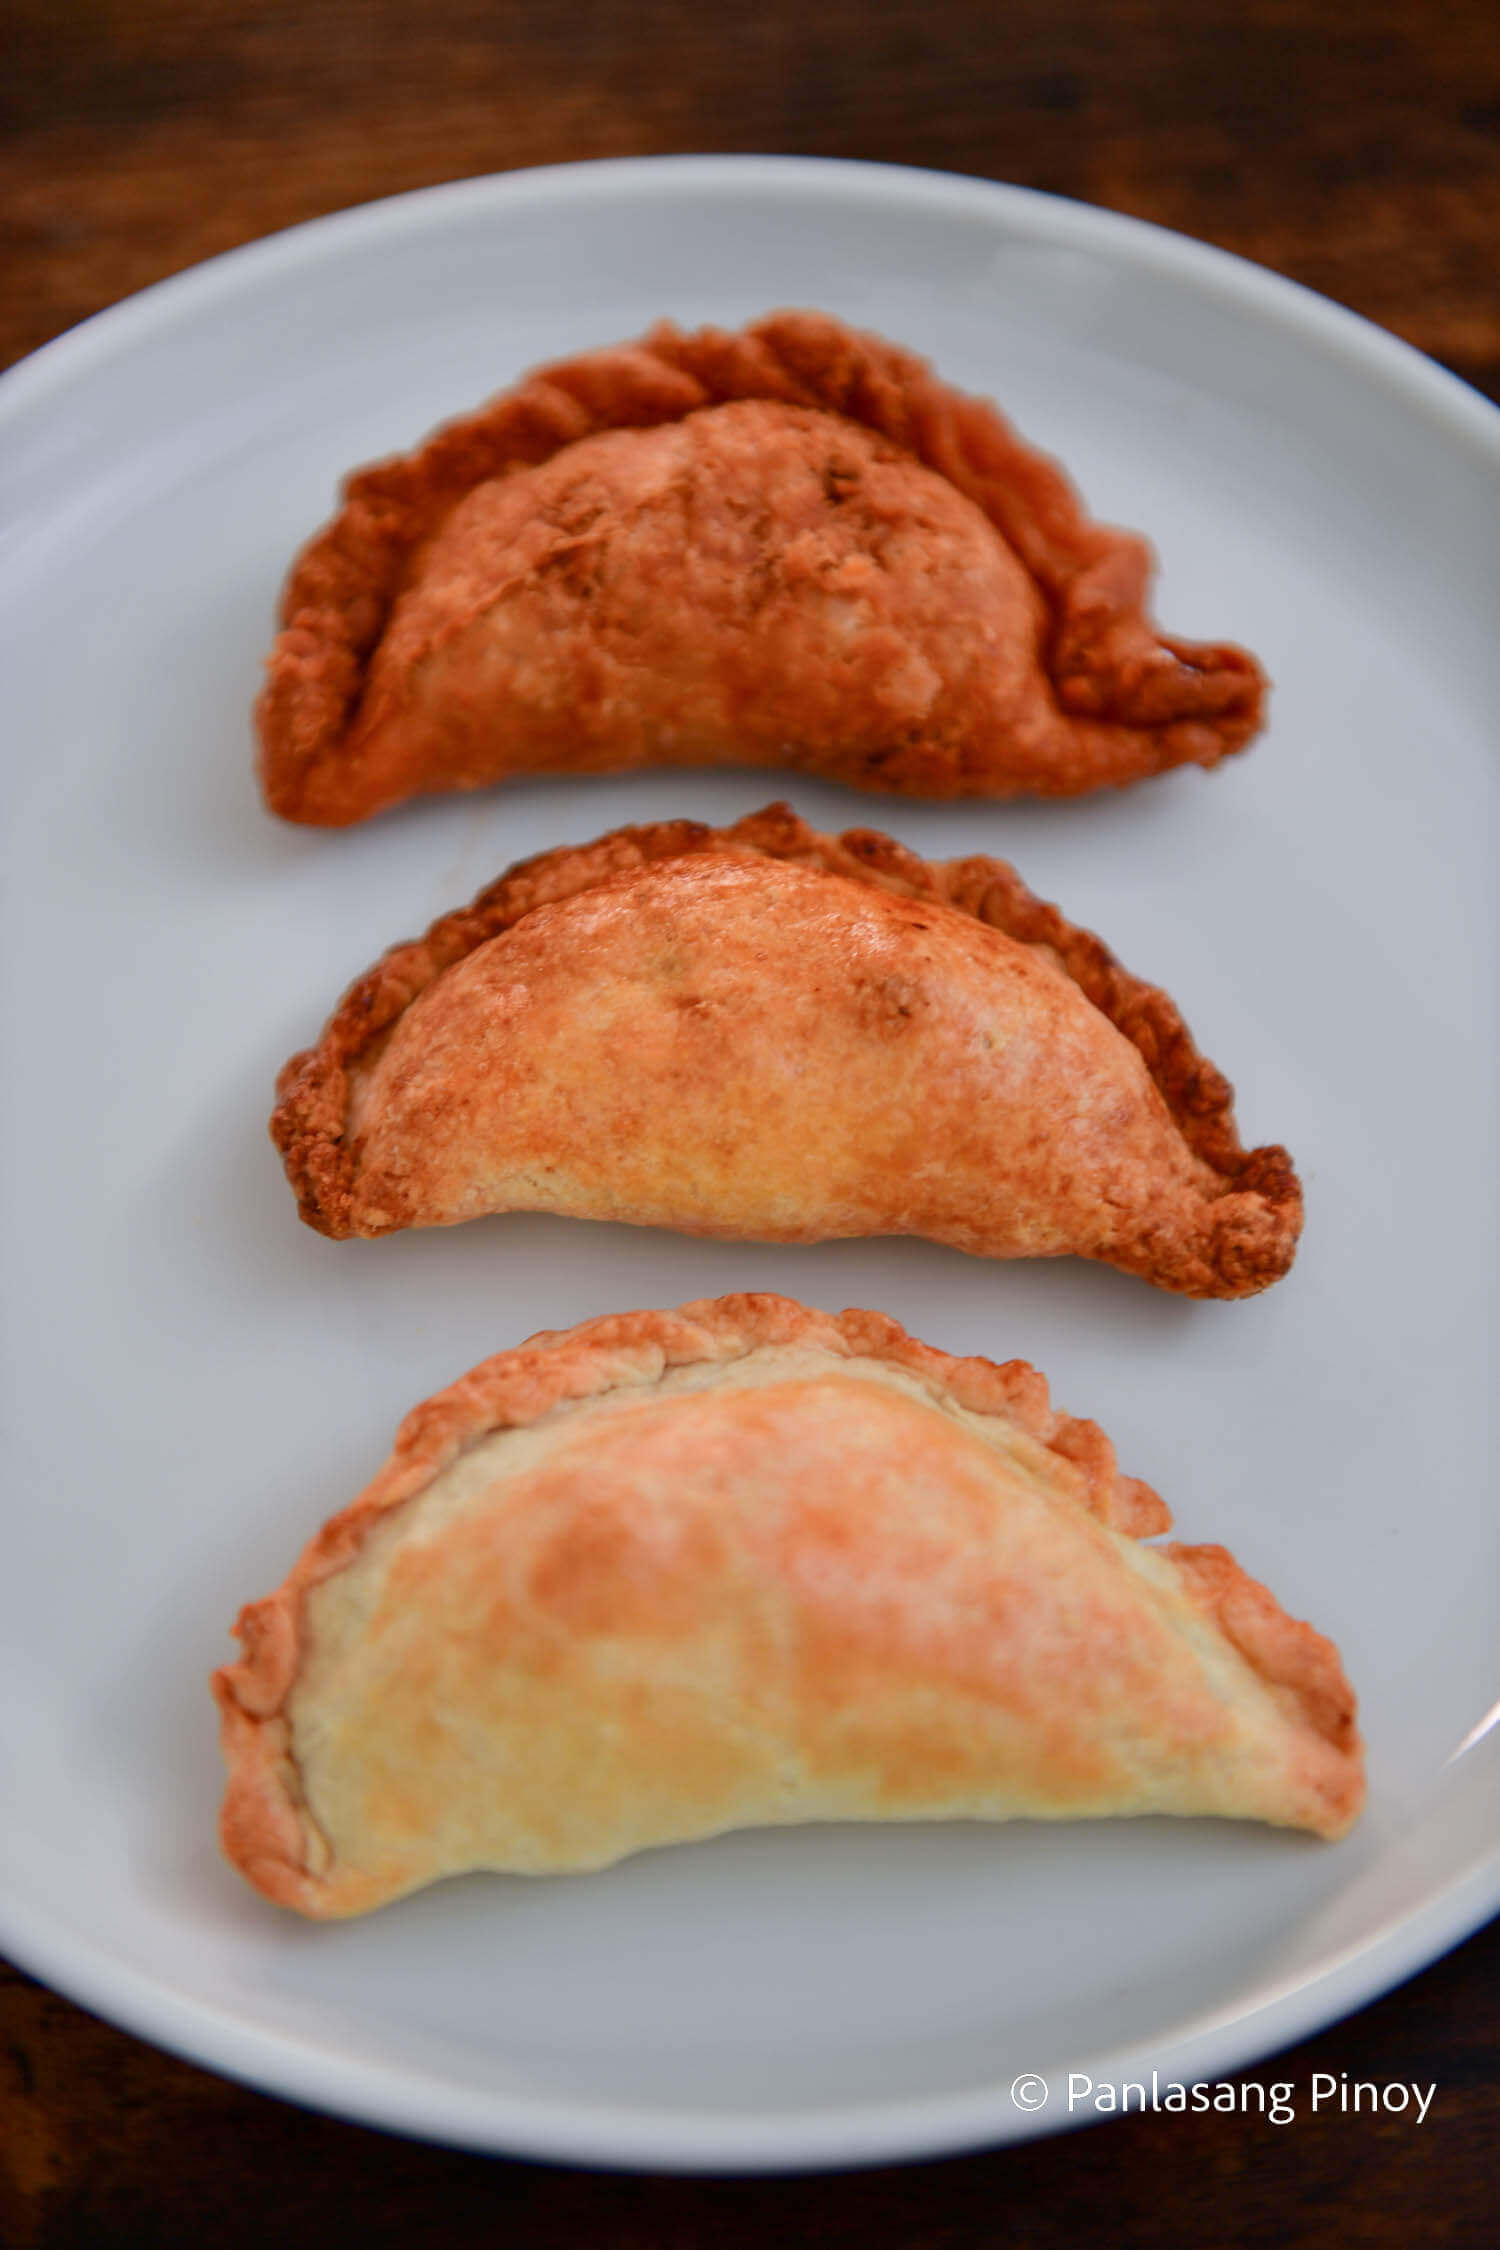
This Chicken Empanada Recipe is quick and easy to follow. I choose to bake my empanadas here for a flakier crust, but you may also opt to fry them if you want them crispier. Regardless, you’ll have a delicious handheld snack at your table in no time!
Here’s a sneak peek into the components that go into creating a thick, meaty Chicken Empanada! I will also lend a couple of tips in selecting your ingredients so that everything that goes into your dish is fresh and of the best quality.
Meat: Chicken breast
When it comes to the meat component for your filling, you may be tempted to go for the cuts that are known to be more flavorful. Drumsticks and thigh parts, anyone? But this cut is not famous for nothing. It is the most ideal part if you want to gain the most health benefits from your chicken. It has tons of protein, and contains a great deal of vitamin A, C and D. Plus, because it naturally has a milder flavor, it collaborates perfectly with the rest of our ingredients for filling.
As for picking out your chicken breast, one of the first things you can look at is the fat. This probably has less fat than other cuts, but you should be sure to identify that the color of it is a deep sort of yellow or white. Fat that is on the grayer side is an indicator that it is not as fresh as you would want it to be.
Of course, the color of the rest of the chicken should also be pink, and not gray. If you are able to touch the chicken, it would also be ideal to go for the one that is firm, and does not feel bloated or injected with water. This way, you know you are getting as much chicken as you bargained for.
Vegetables: Onion, garlic, potato, carrot
Starting with our onions, what you should look out for are any bruises or marks. It would be best to go for the one that is clear of these, and at the same time, is a bit heavier. And definitely make sure you have a nice papery white and thin skin for the onions you choose. And also keep this in a place that is cool and dry, but also has enough air because ventilation is necessary for this ingredient.
Like onions, the best garlic would be firm when squeezed. Usually, a softer garlic would be a sign of sickness for the vegetable. And if possible, it would be ideal to smell the garlic. If it has a noticeably strong smell, you should definitely go for another garlic.
Potatoes also should not be on the softer side. Also keep an eye out for discoloration or bruises. But should you spot any sprouts or marks as such, you can take them out carefully with a knife, and the rest should be alright to work with.
Our carrots should be nice and vibrant with their classic orange color. But other varieties can also come in different colors like purple or red. And a look at the leaves will also help identify freshness as bright leaves will mean they are not that old. The same rule goes for this as with our previous vegetables. You should go for a firm carrot that does not have cracks.
Seasonings: Salt, ground black pepper, chicken cube
Shopping for our spices is a pretty straightforward process as these often come in uniform packaging, and don’t vary as much as the rest of our ingredients. But what about keeping them in good condition in our kitchen?
When it comes to storing salt, it is important to keep them inside an airtight container. But you can also use salt shakers for this, but only for salt that you will be consuming quicker. For long-term storage, it is best to try something airtight. Now if your salt tends to get damp, or start clumping together, there are ways to keep this dry. You could add certain ingredients in your container, such as toothpicks and soda crackers.
Likewise, an airtight container with tightly shut lids would be the way to go for your ground black pepper. And if you keep these at room temperature, you can expect the ingredient to last for about three years. And then for the chicken cube, I would advise letting this sit inside your fridge. Refrigerating can help keep this fresh for longer.
Sweetener: Sugar
We also need a sprinkle of sugar to give our filling a pleasantly subtle sweetness to complement the salty flavor. Similar to salt, I like to keep this in a sealed container in a dry place that is not too hot either.
Fruits: Green peas, Raisin
You may be thinking that since peas often come in groups, stored in a plastic bag at the market, you don’t have to think about how to choose the right batch. But selecting your green peas can definitely help in ensuring that you achieve the best texture for your filling. And so the first thing you can take note of is size. Should you like sweeter peas, you can pick those that are tinier. It is also better to pick up fuller pea pods that are not bulging. Steer away from those that look dried, and opt for the ones that are vibrantly green.
As for raisins, these can give off a pungent, sour smell when they are not good for eating. And so it would be helpful to take a whiff before you purchase them. Also watch out for signs of discoloration as this can mean less flavorful raisins.
Essential components
What is this Empanada dish without a couple of these basic ingredients you likely already have at home? These ingredients are pretty standard, but for eggs, you should remember a couple of things. First on the list is the shell of your egg, which, as you may already be aware of, is prone to cracks. Don’t forget to take that second look at your eggs to ensure these are not cracked, and that they are stored in a secure egg tray that won’t cause damage on the ride home.
Also check the smell of the egg. You will definitely know if what you’re buying is rotten should it have that unpleasant smell. Now once you’ve bought your eggs, you can also conduct another test on your own to identify their freshness. Take the egg, and carefully place it in a bowl of water. If it sinks, that’s great news for you as this often means the egg is fresh.
Now that you’ve got the overview of what ingredients you’re working with, it’s time to put on your apron, and get to prepping and cooking!
How to make Chicken Empanada:
Preparation
Like in every recipe, make sure to prepare all your ingredients beforehand to save time. For this chicken empanada recipe, I use 1 ½ lbs of boneless chicken breast. Before cooking, I cut the chicken into cubes. I also dice my potatoes and carrots during preparation. This chicken empanada recipe calls for 1 cup of each. Lastly, the onion and garlic need prep too. We’ll only need one of each, and the onion doesn’t have to be too big –– just medium sized will do. After mincing both of them, you’re ready to start cooking!
There are two equally important parts to cooking Chicken Empanada. One is making the flavorful, mouthwatering filling, and the other is the flaky dough it comes wrapped in.
The Filling
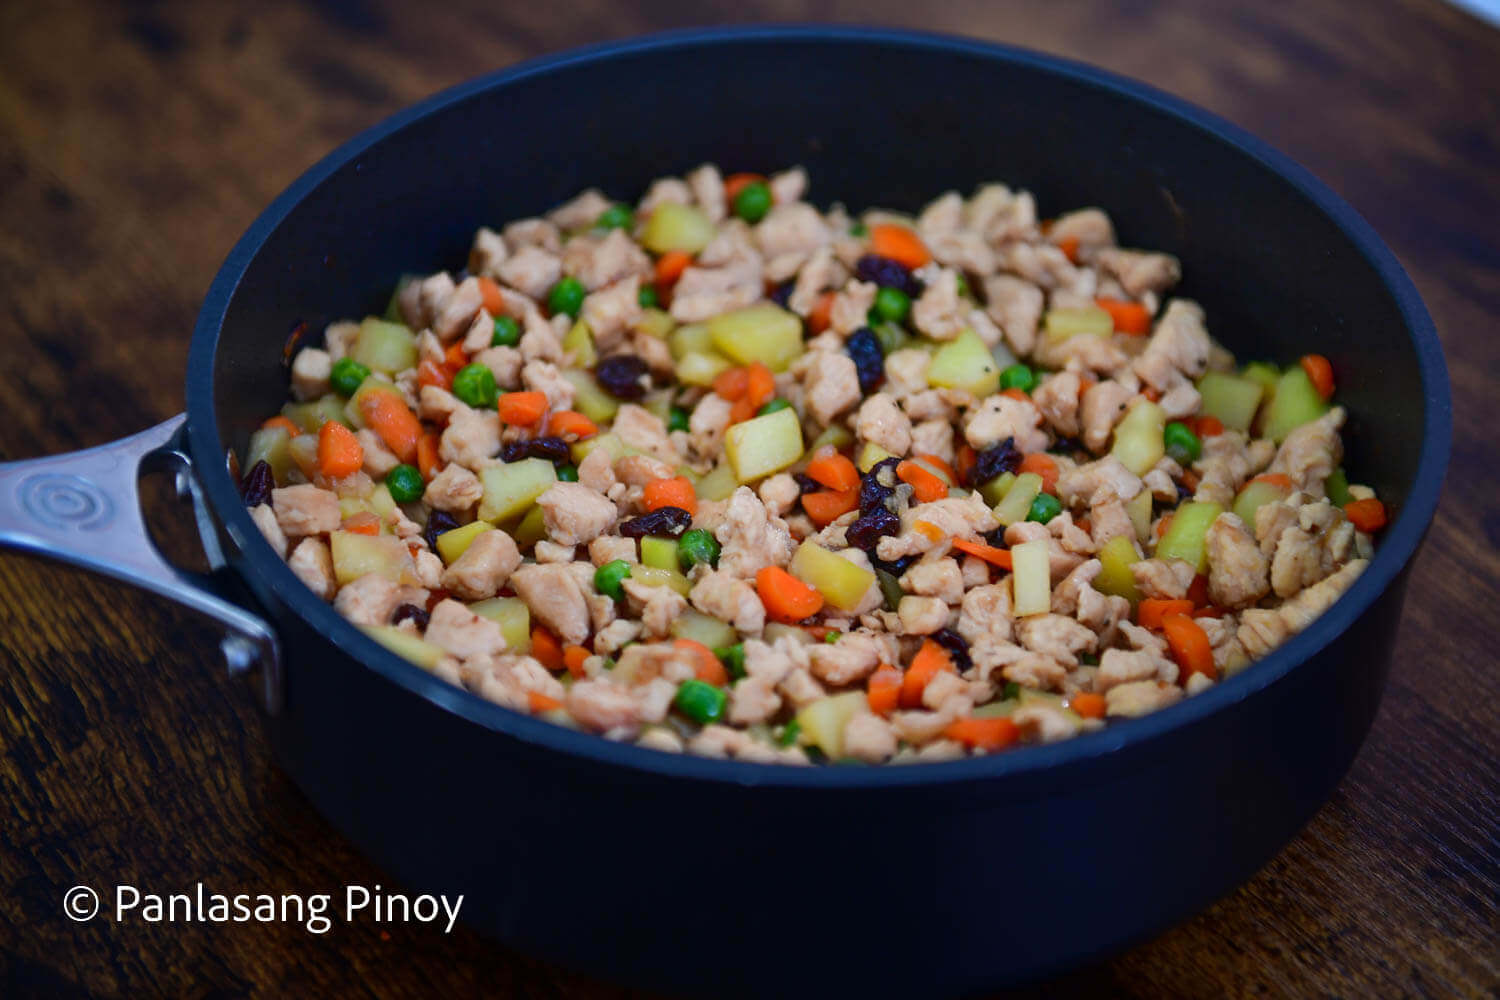
The first step to making Chicken Empanada is making the filling. An empanada is nothing without its hearty, delicious, savory insides. Pour 2 tablespoons of cooking oil into a pan and saute your minced garlic and onion in it. Add the chicken you’ve cut now, too.
Once you’ve been cooking the chicken for about 5 minutes –– or once it’s turned a nice light brown, whichever comes first –– add in some water and half a piece of chicken cube. Let it simmer for about 10 minutes. Afterwards, put in the carrots and potatoes you prepared beforehand. Let the pan simmer again, but now for only half the time. Lastly, add in your 1 cup of green peas, ¼ cup of raisins, and 1 teaspoon of sugar. Let it simmer once more.
Sprinkle ½ teaspoon of salt and pepper over your filling after having let it cook. Take a little bite of your filling to see if it’s to your satisfaction. Once it is, turn off the heat, drain the excess liquid, and set it aside for now.
The Dough
Now it’s time to make the dough! We start doing this by combining all the dry ingredients in one mixing bowl. These ingredients include: 3 cups of flour, 4 tablespoons of sugar, half a teaspoon of baking powder, and half a teaspoon of salt. Mix these all together in one bowl using a wire whisk.
Cut your 1 cup of butter into small, thin pieces. The butter you’re using should be cold and solidified. Once you’ve cut them, toss them into the mixing bowl. Add water in gradually (about 6 tablespoons will do) and mix the ingredients well. A dough should form a while after. If you have it onhand, a pastry blender can help make the process even easier!
When the dough has been formed, it’s now time to divide it into individual pieces. To do this, grab a piece from your mixture and roll it in your hand, forming a round, ball-like shape. Use up all the dough in this way, and set it aside somewhere cold for about 20 minutes.
After the 20 minutes, take your spherical dough out and prepare to flatten it. Use a rolling pin to flatten your round dough pieces, while still maintaining its circular shape. Without a rolling pin, you can also use your palm to press the dough up against a flat surface.
And now –– it’s finally time to fully assemble your empanadas!
The Empanada
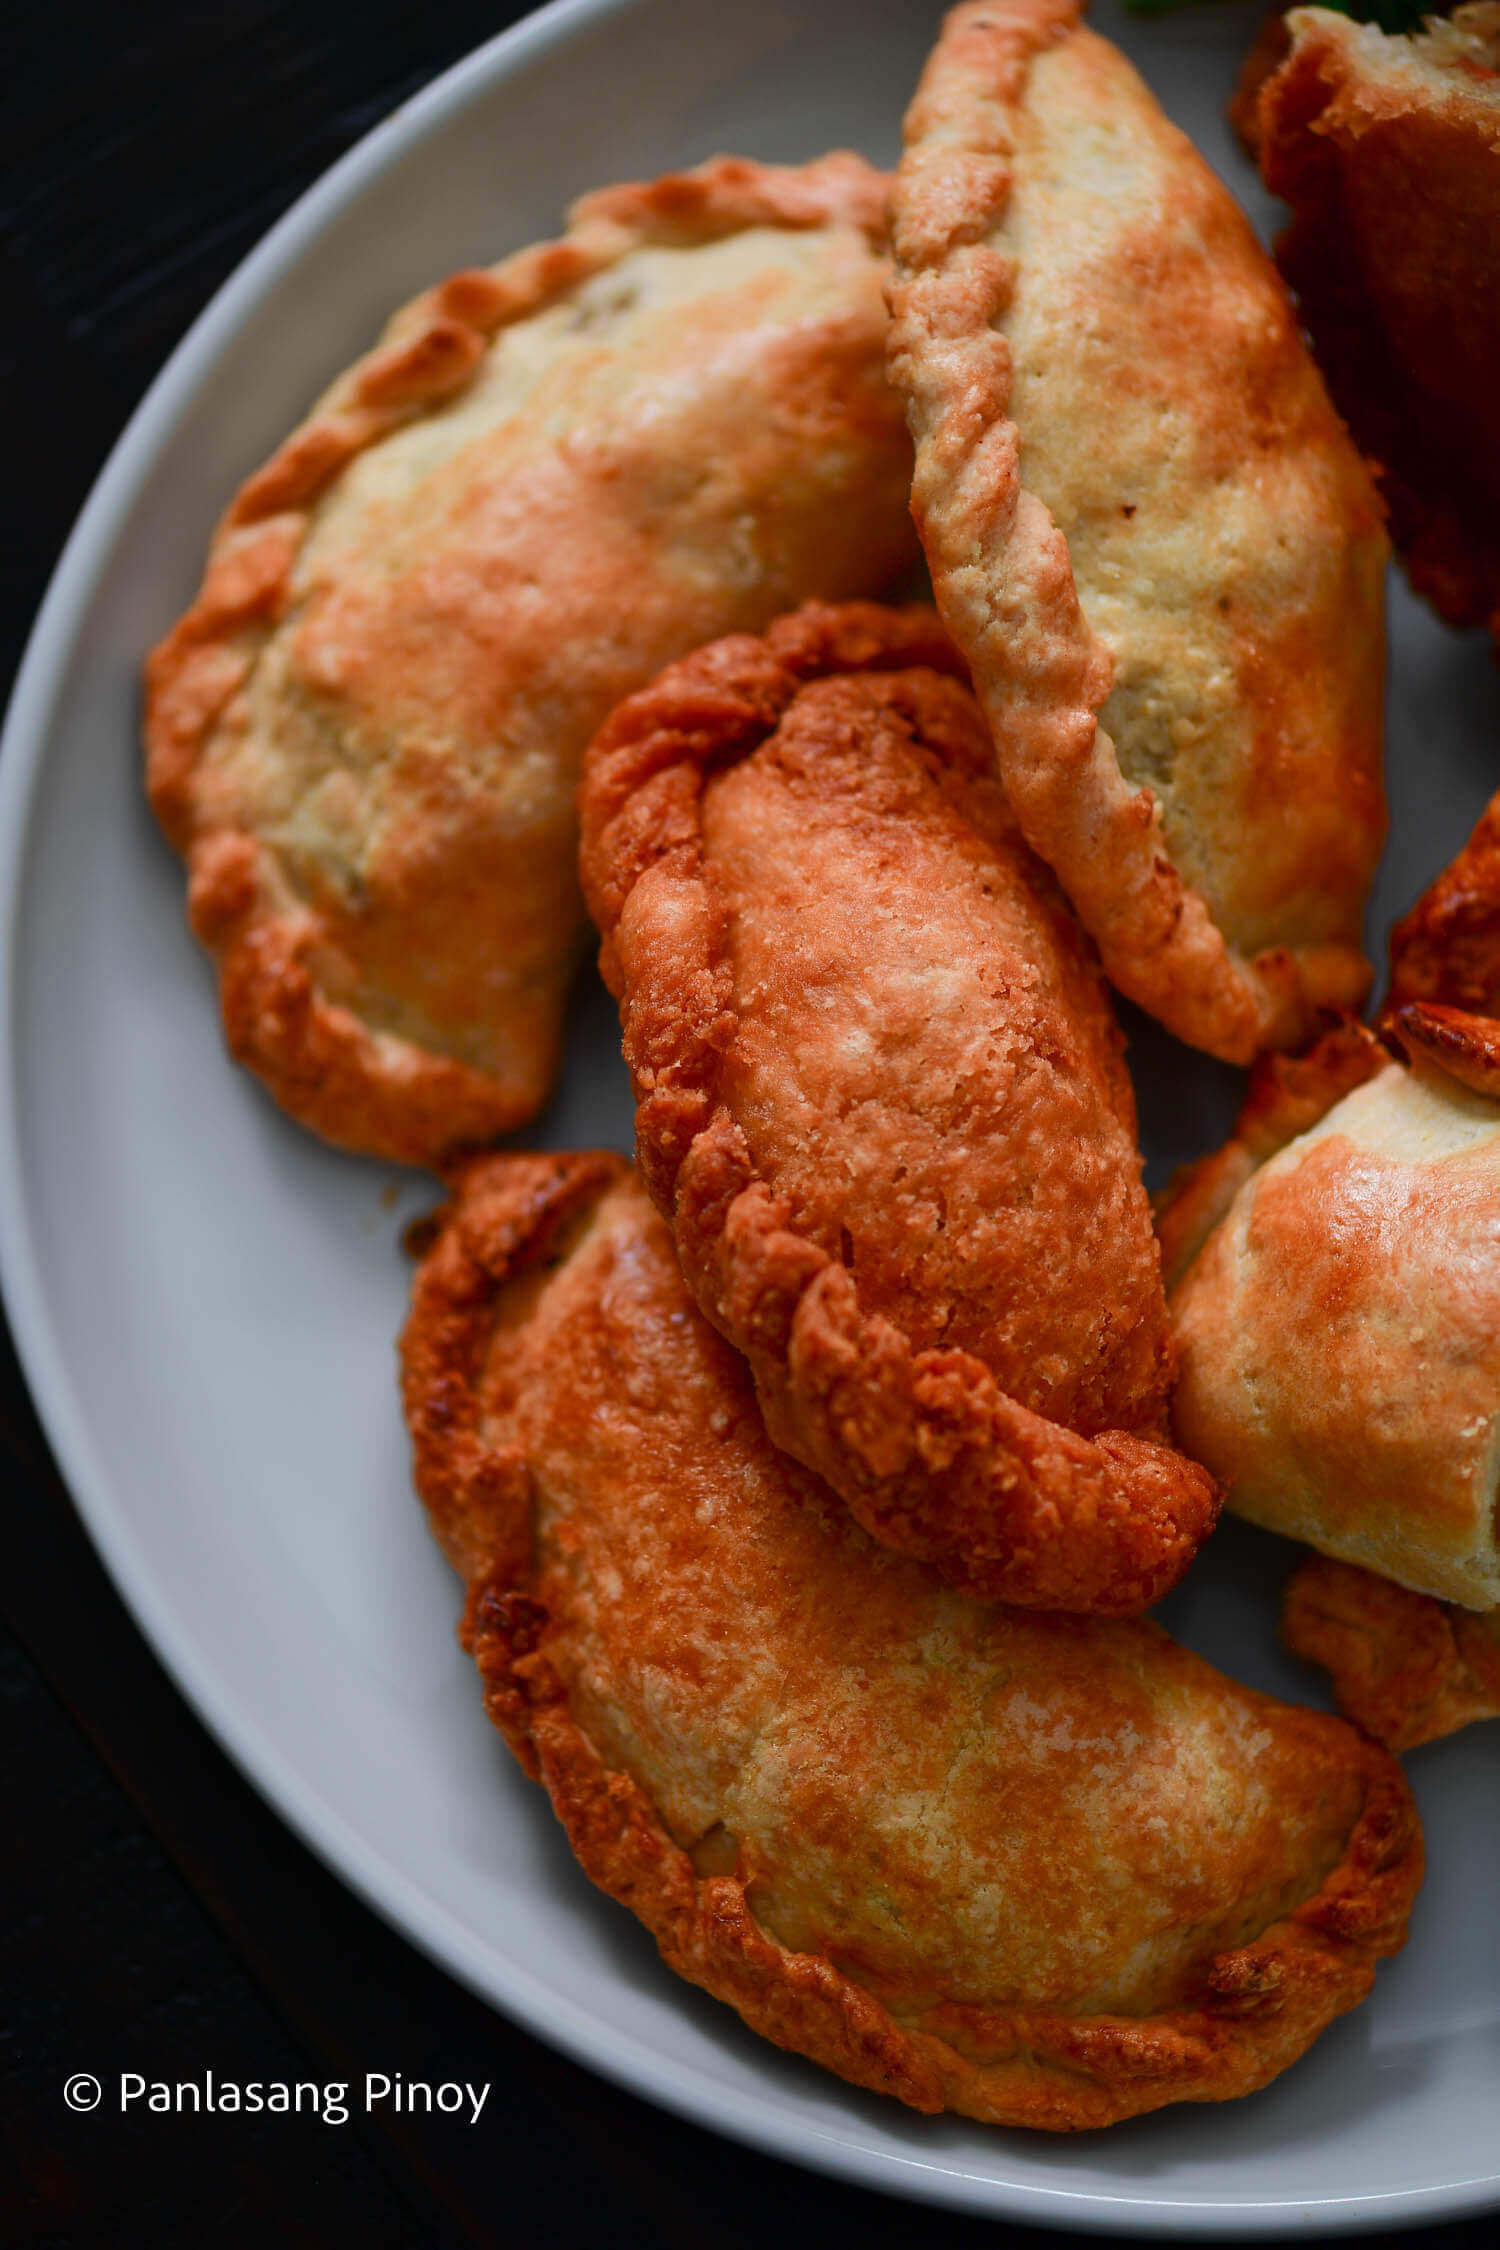
Take your filling out from where you’d set it aside prior. Using a spoon, arrange about a quarter to half a cup of filling at the middle of the flattened dough. Fold the dough so the opposite ends meet, and it forms something like a half moon in shape. Press the edges together and seal it well.
When you’ve consumed all the filling and folded up all the dough, prepare 1 egg by cracking it and separating the white from the yolk. You’ll only need the egg whites for this; beat them lightly, adding in water and mixing every so often. Afterwards, brush the egg wash over your folded empanadas for a glaze.
Pre-heat your oven at 400 degrees Fahrenheit (roughly 200 degrees Celsius) for about 10 minutes. During this time, prepare your baking tray by either putting wax paper atop it or greasing it well. Arrange the half moon doughs on the tray before putting them in the oven. Let them bake for about 25 minutes.
When the 25 minutes are up, remove them from the oven –– and voila! Your delicious chicken empanadas are ready to be served, piping hot and delicious. Share it with your loved ones and enjoy! This serves six people perfectly, and so you can count on leftovers if you want to eat with a smaller group.
Let us know what you think of this Chicken Empanada recipe in the comments below! And if you liked this dish, you are going to love the rest of these empanada varieties. Why not take a look at more of these recipes for delicious pastry turnovers?



Want to take a look at more delightful recipes like this Chicken Empanada? Panlasang Pinoy has a lot more for you— just scroll through the website!
Did you make this? If you snap a photo, please be sure tag us on Instagram at @panlasangpinoy or hashtag #panlasangpinoy so we can see your creations!
Chicken Empanada Recipe
Ingredients
Filling ingredients:
Dough ingredients:
- 3 cups flour
- 4 tablespoons sugar
- 1 cup butter
- 1/2 teaspoon baking powder
- 6 tablespoon water cold
- 1 egg
Equipment
- 1 pastry blender
Instructions
- Start cooking the filing by heating the cooking oil in a pan.
- Once the oil is hot, saute the garlic and onion.
- Add the chicken breast then cook until color turns light brown (about 5 minutes)
- Add oyster sauce, soy sauce, and Knorr chicken cube. Stir and cover the pot. Cook for 5 minutes.
- Put-in carrots and potatoes. Cook for another 5 minutes
- Add the green peas, raisins, and sugar then simmer for 3 minutes
- Season with salt and ground black pepper. Turn off the heat, drain the excess liquid, and set aside.
- Make the dough by combining the dry ingredients in a mixing bowl starting with the all-purpose flour, sugar, baking powder, and salt. Mix well using a wire whisk.
- Cut the butter into small thin pieces place in the mixing bowl with the dry ingredients.(the butter should be cold and solid before doing this)
- Add water gradually and mix all the ingredients thoroughly until a dough is formed. You may use a pastry blender to ease the process.
- Divide the dough into individual pieces by grabbing a piece from the whole mixture and rolling it in your hand until a spherical shape is formed. Do this until all the dough is consumed. Set aside in a cool place for at least 20 minutes
- Flatten the spherical dough by pressing it with your palm against a flat surface. Use a rolling pin to flatten it fully while creating a round shape.
- Arrange about a quarter to half a cup of filling (the chicken that you cooked in the first few steps) at the middle of the flattened dough. Fold the dough so that opposite ends meet (you should have formed a half moon shaped dough)then press the edges and seal. (refer to the video for the technique)
- After all the fillings are consumed, crack the egg and separate the white from the yolk. Beat the egg white lightly and mix a little water.Glaze the crust by brushing the egg wash.
- Put a wax paper on top of a baking tray or grease the baking tray then arranged the sealed doughs.
- Pre-heat oven at 400 degrees Fahrenheit for 10 minutes. Bake the sealed doughs for 25 minutes at the same temperature.
- Remove from the oven.
- Serve hot. Share and Enjoy!
Video

Joy says
Super easy to follow! Thank you!
u2bacnt says
I’m planning to do it this coming weekend. Hopefully I can make it. Thank you for the clear instruction of the recipe.
Alicia says
can i fry this instead of baking it in the oven?
John says
Thank you for the recipe… and especially the video. My wife Lorna and I watched it and found it very helpful. Lorna will make a batch using your recipe and the techniques you demo’d in the video! Thank you very much!
Vanjo Merano says
Hi John, it is my pleasure. Good luck to Lorna and let me know how it went.
susan says
Thanks for sharing your recipe….
Vanjo Merano says
You’re welcome, Susan!
bong says
thanks…imagine in 1 hour i know how to make multiple recipes by watching you.
Alexis Rodrigo says
I made this for dinner tonight, but used leftover menudo for the filling instead of the recipe here. The end result was really good. I’ll make it with the proper filling next time. Thank you very much for your recipes. I never learned to cook Pinoy food when I was young, because my two older sisters did all the cooking. My only role was to eat.
BTW, where’s your ebook? I’d love to buy it, if it’s available.
amiebern says
i like this recipe, i will have this for dinner tonight. do you have a pineapple pie recipe? i used to buy pineapple pie back home. thanks !! i also like the background music of your u tube video.. cheers !!
jennifer bobst says
wow..looks yummy… thanks for sharing, videos help a lot too… u guys are genius
jennifer bobst says
wow..looks yummy… thanks for sharing, videos help a lot too… u guys are genious
marivic says
i jst tried it and it’s really great… thanks for the recipe
noreen says
Hello! You know when I make my empanada I fried it… but your empanada looks so good so the next time I will empanada I will bake it. Thank you so much.
ARLENE GAERLAN says
thanks for everything ..i learned from here to make siopao and other recipes…more power ..GOD BLESS
Dine T says
Can’t wait to try this recipe! I have all the ingredients in my kitchen. Did you use 1 stick of butter or 2 sticks?
janette says
this is why i’m loving your page everyday… cheers to your mouthwatering recipes!
vicky says
gd pm po. Kuya can i use microwave oven to cook empanada? God bless po sa program nyo. 🙂
glonah says
hello sir! i really want to learn how to make empanada…and this one really looks delicious…i just want ask if i’m just going to fry it, do i still need to use the egg?…thanks! and God bless!
Gregorio G. de la Cruz says
No based on my experience, unless you bake it.
maryflower81 says
thank you so much….kktpos ko lng ma bake and empanada recipe mo…ground beef ung ginamit ko instead of chicken…masrap din xa….salamt sa pag share mo ng mga recipe mo…God bless u always…
Jackie Valdehueza says
I tried this chicken empanada recipe. Easy to follow and it is so delicious. I made Chilean Empanada at the same time that I saw on TV which came from America’s Test Kitchen. Did a taste test with my family and friends and this recipe beat the Chilean Empanada by 100% of the vote going to your Chicken Empanada. I will be making another batch for an upcoming 4th of July get together. Many Thanks from me, my family and friends.
Sincerely,
Jackie Valdehueza
Nivramog says
So far, this is the only empanada recipe that has a good consistency and texture for the pastry. Good recipe! Thank you very much for sharing.