How to Cook Rice
Rice was always on our table when I was growing up in the Philippines. My mom and grandma cooked it every day, and they made it look easy. They rinsed the rice, added water, covered the pot, and let it cook until the grains were soft and fluffy. I learned by watching them first, then I started doing it myself.
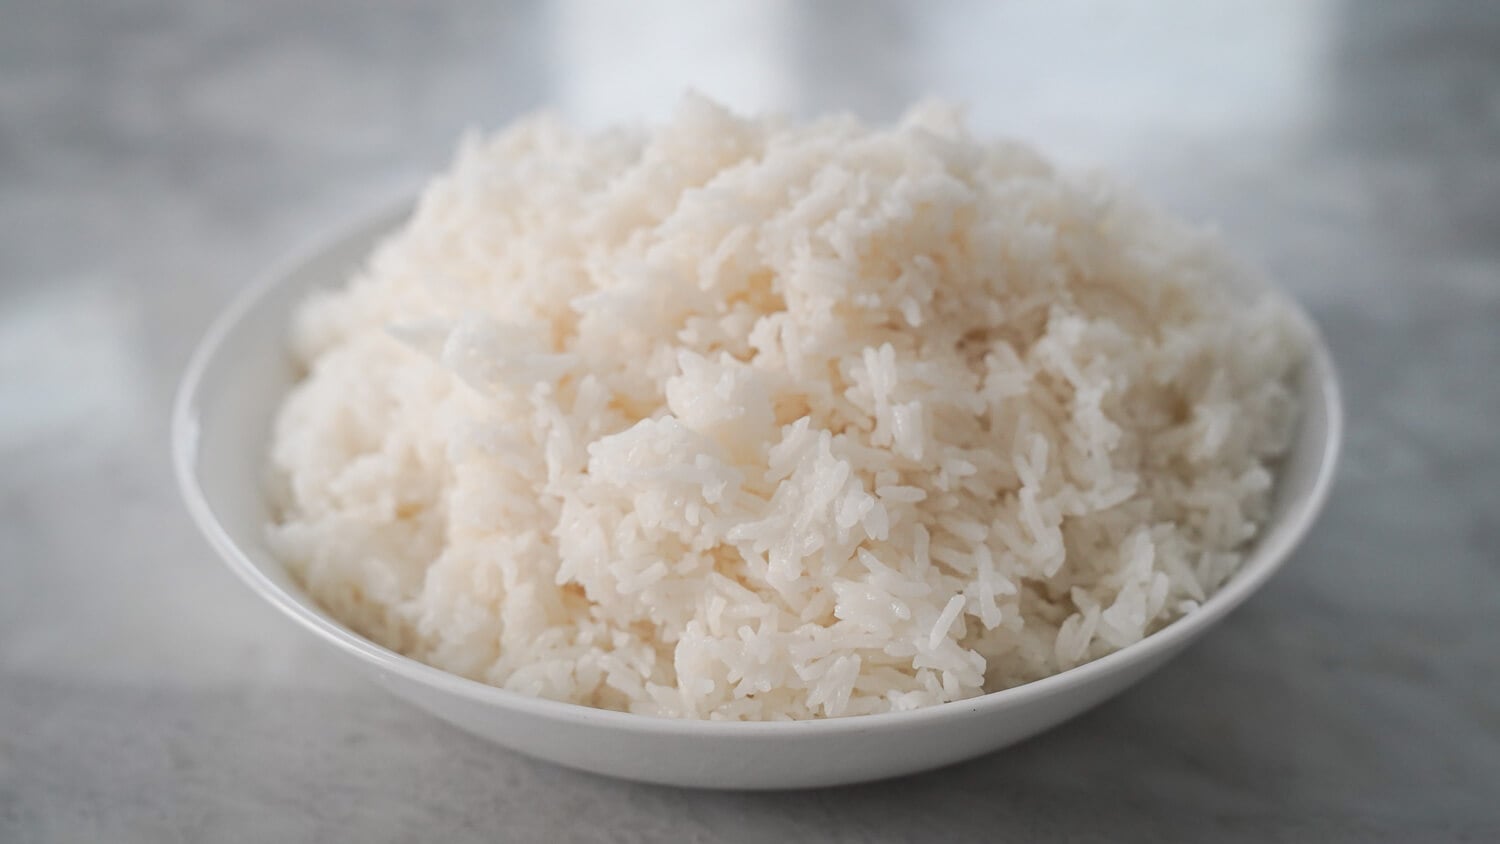
How to cook rice comes down to a few simple habits. For basic white rice, I use 1 cup of rice and around 1.3 to 2 cups of water depending on rice variety (There is a detailed guide about the rice to water ratio below). It is important to always rinse it. 2 to 3 times should be enough as long as the water looks almost clear. I cook it covered on low heat, then I let the pot sit for 10 minutes before opening. That short rest helps the rice finish properly. This is still how I cook rice at home today, especially when I want rice that goes well with any Filipino dish.
Rice in Filipino Cooking
Rice is part of the meal in many Filipino homes. We eat it for breakfast, lunch, and dinner. We also have different words for it. Raw rice is bigas. Cooked rice is kanin. Cooking rice is called sinaing.
Milagrosa was the rice we usually had at home. It came in a sack from the market, and the same rice pot was filled again and again. My mom and grandma did not always use a measuring cup. They scooped the rice, leveled it, and used their finger to check the water. That was the first way I learned how to cook rice before I started using exact measurements.
These days, I usually keep jasmine rice in the pantry because it reminds me of the rice we had back home. We still cook fresh rice for meals whenever we can. Leftover rice usually becomes garlic fried rice the next morning.
What Makes Rice Cook Properly
Rice cooks by absorbing water. The grains soften as they take in the hot water. The amount of water and the heat matter the most. Once you get those right, learning how to cook rice becomes easier.
For most white rice, 1 cup of rice and 1.5 to 2 cups of water works well. Jasmine rice, long grain rice, Sinandomeng, and Dinorado usually cook nicely with this ratio. Calrose needs a little less water because it is softer. Brown rice needs more water and more time. Basmati does better with slightly less water. Sticky rice, or malagkit, is usually cooked differently because we often use it for desserts and special Filipino dishes.
Why Resting and Rinsing Matter
I do not skip the 10 minute rest after cooking. The rice keeps steaming while the lid stays closed. The moisture spreads through the pot, so the bottom does not stay too wet while the top feels dry. Open the lid too soon and the rice may not finish evenly.
Rinsing also helps. Rice has surface starch from milling, and too much of that starch can make the grains sticky or gummy. I rinse the rice 2 to 3 times until the water looks almost clear. It does not have to be perfect. Almost clear is good enough for everyday cooking.
Equipment for Cooking Rice
Here are the methods that make sense for most home kitchens. The equipment changes the timing and the convenience, not how the rice turns out.
- Rice cooker (fuzzy logic) Zojirushi, Tiger, or Cuckoo type. Built-in soak and rest. The cycle runs 50 to 55 minutes. I use a fuzzy logic cooker most days now.
- Rice cooker (basic on/off) the simple one-switch cooker most Filipino kitchens have. About 20 to 25 minutes. We had this kind at home and it did the job. After the switch clicks to keep warm, leave the lid closed for 10 more minutes so the rice rests.
- Stovetop pot a heavy pot with a tight fitting lid. About 25 minutes total. A separate stovetop guide is in the works.
- Instant Pot or pressure cooker fast once you know your machine. About 18 minutes total with natural release. A dedicated Instant Pot rice post is coming.
- Microwave useful in small kitchens and dorms. About 18 to 20 minutes. A microwave rice post is on the way.
Ingredients
- White rice, 1 cup. Jasmine is what I use here. Long grain, Sinandomeng, or Dinorado all cook the same way.
- Water, 2 cups, cold from the tap.
- Salt, 1/4 teaspoon, optional. Most Filipino households skip it because the main dish is already seasoned. I leave it out.
Vanjo’s Advice
I started cooking rice at a young age. The rice cooker was my best fried back then. Eventually, I learned how to cook it properly on the stovetop. My grandma taught me to measure water with my finger, and I still do it that way. The habits below are the small things that make the difference between a so-so pot of rice and a really good one.
- Rinse 2 to 3 times until the water runs almost clear Swirl with your hand, tilt the pot, and pour off the cloudy water through your fingers. Almost clear is enough. Perfectly clear is not the goal.
- Use your finger to measure water Level the rinsed rice in the pot. Touch your index fingertip to the surface and add water until it reaches the first joint. This lands close to 1:2 every time without a measuring cup.
- Start with cold water Cold water gives the grains a more even start. I have always done it this way and the rice cooks more evenly.
- Keep the lid closed Every time you lift the lid you let the steam out, and the steam is what cooks the top half of the rice. Trust the timing.
- Let it rest for 10 minutes Even on a fuzzy logic cooker, the keep warm cycle is not the same as a real rest. Lid stays closed.
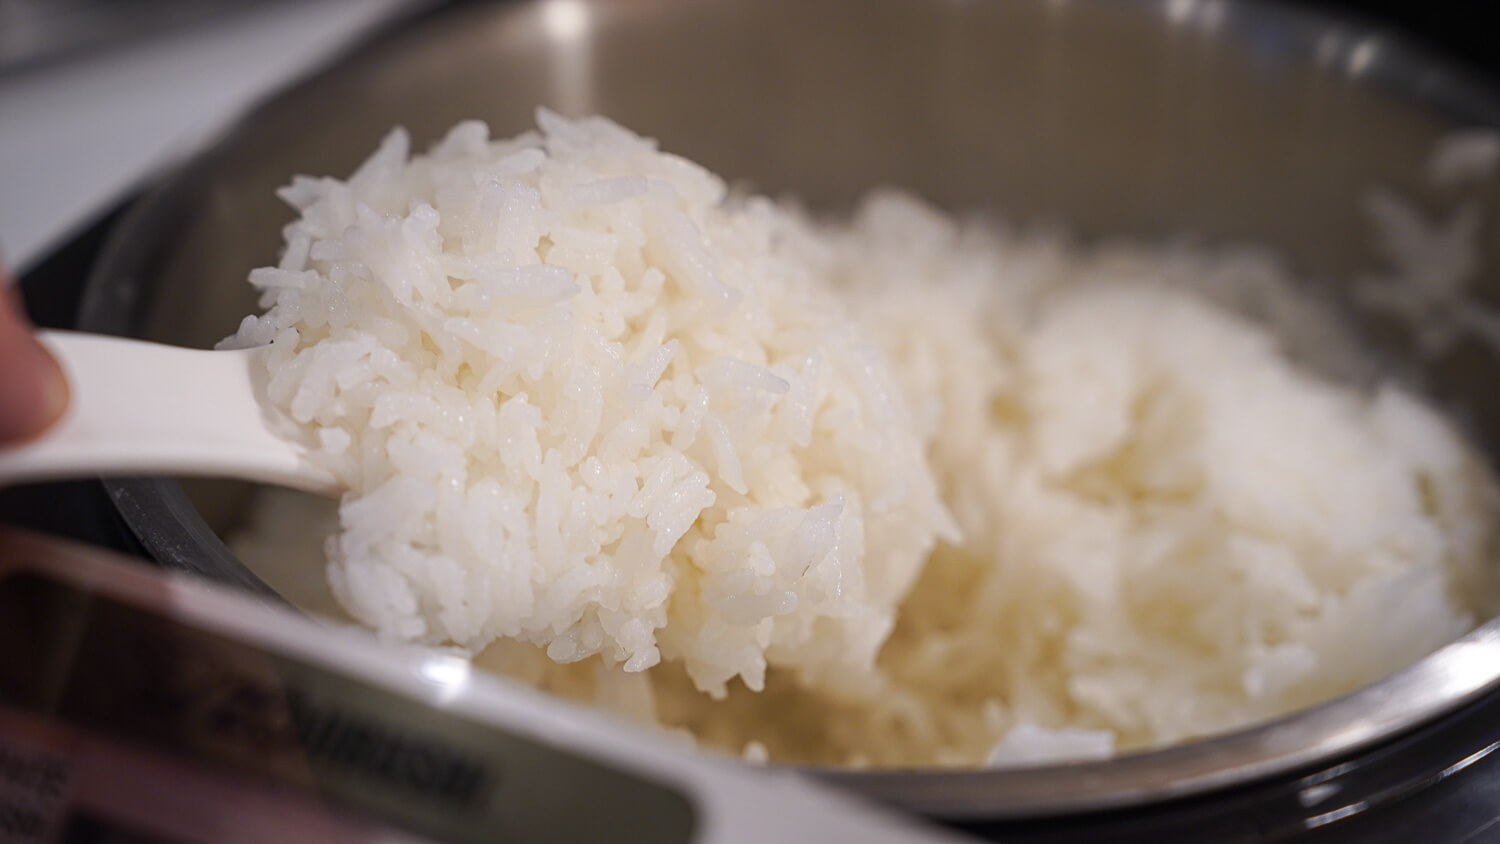
- Fluff with a rice paddle, not a spoon A flat paddle lifts and separates the grains. A spoon presses them down.
- Cook fresh, fry the leftovers We cook fresh rice for each meal at home. If there is rice left over, it goes in the fridge for sinangag the next morning.
Water to Rice Ratio by Type
Each rice variety has a different ratio and cook time. The table below shows the ratios I trust for each type, based on what actually gives the best texture in a home kitchen. When a range is given, use the lower number for firmer rice and the higher number for softer rice. Start in the middle and adjust 2 tablespoons up or down per cup of rice based on the texture you want.
| Rice Type | Water Ratio | Cook Time | Texture | Notes |
|---|---|---|---|---|
| Long grain white (standard) | 1 : 1.5 to 1.75 | 15 to 20 min | Fluffy, separate | 1:2 is a common generic bag instruction, but 1:1.5 gives cleaner, firmer, non-gummy grains. |
| Sinandomeng, Dinorado | 1 : 1.25 to 1.5 | 15 to 18 min | Soft, fragrant, holds shape | Local Filipino premium aromatic grains. Use 1:1.25 for rice cookers and 1:1.5 for stovetop. 1:2 will drown them. |
| Jasmine | 1 : 1.25 to 1.5 | 12 to 15 min | Soft, fragrant, lightly fluffy | Naturally lower in amylose. Use 1:1.25 for standard rice cookers and 1:1.5 for stovetop. |
| Basmati (unsoaked) | 1 : 1.75 to 2 | 10 to 12 min | Long, separate, ultra-fluffy | Needs slightly more water than jasmine so the grains can fully elongate without breaking. |
| Basmati (soaked 20–30 min) | 1 : 1.25 to 1.5 | 10 to 12 min | Max grain length, fluffy | Soaking hydrates the core. Cut the water down so the elongated grains do not get mushy. |
| Medium grain, Calrose, sushi | 1 : 1.2 to 1.25 | 15 to 20 min | Plump, tender, sticky | Rinse heavily to remove surface starch. Soak 20 minutes before cooking for best results. |
| Glutinous (malagkit), kakanin style | 1 : 0.75 to 1 | 20 to 30 min | Ultra-sticky, rich, chewy | Liquid ratio includes a coconut milk and water combo. Standard for biko and bibingkang malagkit. |
| Glutinous (sticky rice), Thai or Lao style | No ratio (steam only) | 15 to 25 min | Intensely chewy, dry-sticky | Soak 3 to 12 hours. Steam in a bamboo basket over boiling water. Never submerge. |
| Brown long grain | 1 : 2.25 to 2.5 | 40 to 45 min | Chewy, distinct grains | Needs more water and time to penetrate the fibrous bran layer. Full method: How to Cook Brown Rice. |
| Brown jasmine | 1 : 1.75 to 2 | 30 to 40 min | Fragrant, slightly chewy | Softer bran layer than standard long grain brown rice, so a little less water. |
| Brown basmati | 1 : 2.25 | 25 to 30 min | Long, nutty, dry | A 20 minute soak before cooking cuts the time down. |
| Red rice and black rice (forbidden) | 1 : 1.75 to 2 | 30 to 35 min | Nutty, chewy, robust | Rich in anthocyanins. The water turns deep purple. Great for whole grain porridge or salads. |
| Wild rice (drain method) | Excess water | 45 to 50 min | Chewy, split grains | Treat it like pasta. Boil in a large pot of salted water and drain when the grains just start to pop open. |
| Parboiled (converted) | 1 : 2.25 | 20 min | Extremely firm, separate | Steam-treated before milling. Forgiving and almost impossible to make gummy. |
| Instant white | 1 : 1 | 5 min | Soft, loose structure | Pre-cooked and dehydrated. Bring water to a boil, stir in the rice, cover, remove from heat for 5 minutes. |
| Arborio (plain table rice) | 1 : 1.5 | 20 min | Creamy surface, firm core | Rinsing removes the surface starch if you want it to behave like a standard side rice. |
| Arborio (for risotto) | 1 : 3 to 4 (added gradually) | 18 to 25 min | Velvety, rich, al dente | Do not rinse. Add hot stock gradually, stirring constantly to draw out the starch. |
| Bomba (for paella) | 1 : 3 | 15 to 20 min | Plump, completely separate | Absorbs 3 times its weight in liquid without releasing starch. Keeps the paella dry and distinct. |
Older folks at home usually like rice on the softer side, so I add a bit more water for them. For next day garlic fried rice, I cut the water down so the grains stay firm and separate after they sit in the fridge.
How to Cook Rice
The steps below are the same for any white rice. For the right amount of water, check the table above and find the ratio for the rice you are cooking. The steps are the same. Only the water amount and cook time change.
Rinse the rice
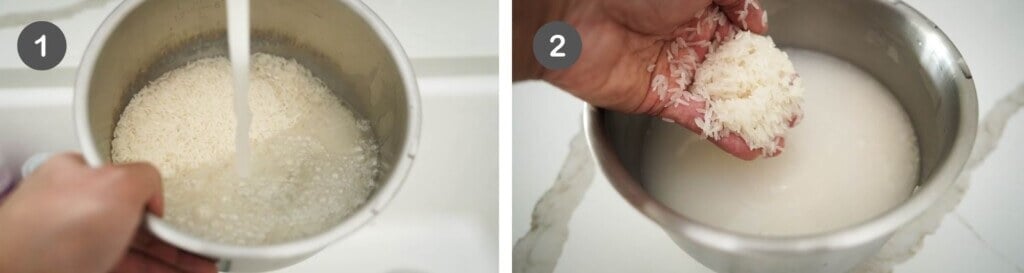
- Put 1 cup of white rice in the inner pot of your rice cooker or in a bowl. Pour in cold water and swirl with your hand.
- Tilt the pot and pour off the cloudy water through your fingers. Repeat 2 to 3 times until the water is almost clear, then drain well.
Cook the rice
Rice Cooker
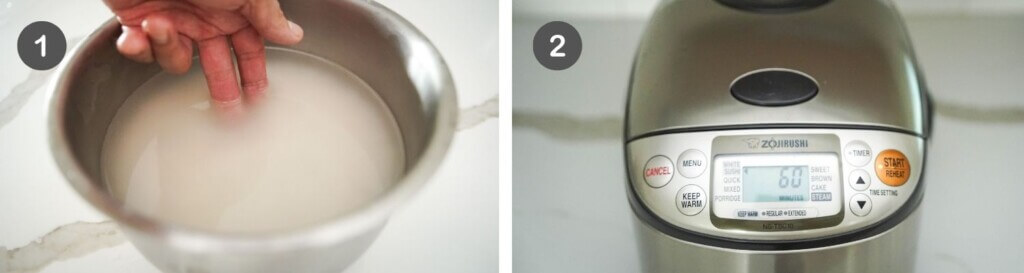
- Add water to the rinsed rice using the ratio for your rice type (see the table above) or use the finger method by adding water until it reaches your first knuckle.
- Close the lid and press the white rice setting. A fuzzy logic cooker takes 50 to 55 minutes. A basic on/off cooker takes 20 to 25 minutes. Let the cycle finish on its own.
If your cooker has a built-in soak step, you do not need to soak ahead of time. If it does not, letting the rinsed rice sit in the water for 15 minutes before cooking gives you slightly softer rice. I do this when I want the rice on the softer side for older folks at home.
Stove Top
- Transfer the rinsed rice to a heavy pot with a tight lid. Add cold water using the ratio for your rice type (see the table above), then bring it to a boil uncovered over medium-high heat.
- Drop the heat to the lowest setting, cover tightly, and simmer for the cook time listed in the table without lifting the lid. Take the pot off the heat and rest, still covered, for 10 minutes. Fluff with a rice paddle and serve.
Instant Pot
- Add the rinsed rice and cold water to the pot. Use a little less water than the stovetop ratio in the table because no steam escapes from a sealed pressure cooker. For most white rice, that means dropping the water by about a quarter cup per cup of rice.
- Close the lid, set the valve to sealing, and cook on high pressure for 4 minutes. Let the pressure release naturally for 10 minutes, then quick release the rest. Fluff and serve.
Microwave
- Put the rinsed rice in a large microwave safe bowl and add cold water using the ratio for your rice type (see the table above). The bowl needs to be at least 3 times the volume of the rice or it will boil over.
- Cover loosely and microwave on high for 10 minutes, then on 50 percent power for 8 minutes. Let the bowl rest in the microwave for 5 minutes before opening. Fluff and serve.
Rest and fluff
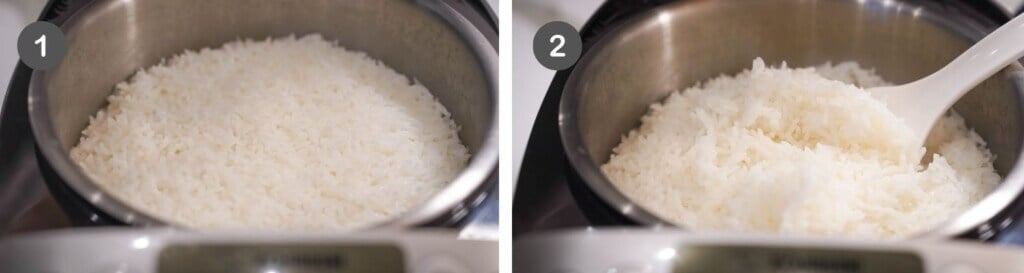
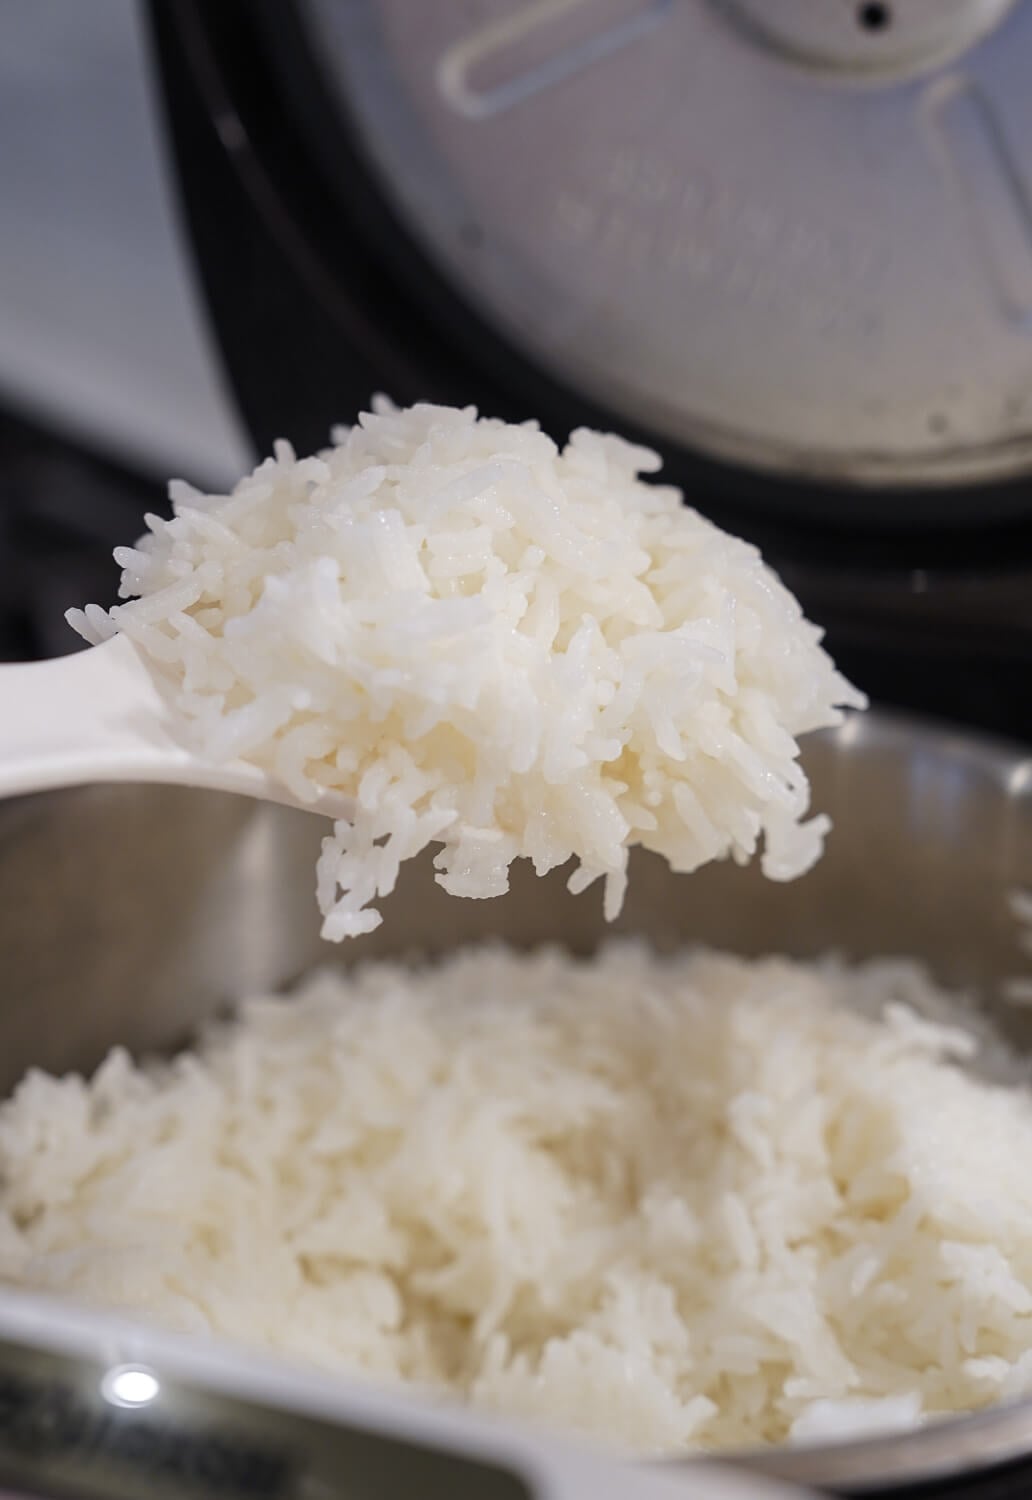
- When the cooker finishes or the stovetop pot has rested, open the lid. The top should look dry and the grains should look separate.
- Slide a rice paddle down the side of the pot, lift gently from the bottom, and turn the rice over to fluff. Transfer to a serving bowl and serve hot. Share and enjoy!
Filipino Rice Varieties
If you grew up in the Philippines, the rice on your table was probably one of these. Filipino families have strong opinions about which is best, and the choice often comes down to what your mom or grandma bought.
- Sinandomeng the everyday rice in many Filipino homes. Soft when cooked, lightly fragrant, holds its shape. This is now my preference when I am back in the Philippines.
- Dinorado a premium long grain with a faint pink tint and a sweet aroma. Slightly stickier than Sinandomeng. Many households save it for Sunday lunch or fiestas.
- Milagrosa aromatic, slightly chewy, on the pricier side. Often considered one of the best traditional Philippine varieties.
- Wagwag firmer texture, holds shape after sitting. Good for households who like rice that does not soften too much.
- Maharlika long grain, soft, mild. A common middle-tier option.
If these are not available where you live, jasmine rice from any regular brand at the Asian grocery is the closest you will get to Sinandomeng in flavor and aroma. The texture is a bit different and jasmine takes less water (1:1.5 instead of 1:2), so adjust when you cook.
Troubleshooting Common Problems
Rice usually goes wrong because of water, heat, or the lid.
- Mushy rice – Use less water next time. Start by cutting 2 tablespoons of water per cup of rice. You can spread soggy rice on a tray and use it later for fried rice.
- Hard rice – Add 2 to 3 tablespoons of hot water, cover, and cook on very low heat for 5 more minutes.
- Burnt bottom – The heat was too high. Use the lowest setting, a heavier pot, or a heat diffuser. Some of us like tutong, but lower heat prevents it.
- Dry top, wet bottom – The rice needed more resting time. Keep the lid closed and let the steam even it out.
- Sticky clumps – Rinse the rice 2 to 3 times before cooking. Extra starch makes the grains stick together.
- Rice smells sour – Throw it out. Cooked rice should not sit at room temperature too long. Let it cool, then refrigerate it within an hour.
How Much Rice Per Person
This depends on whether the rice is the main starch or just a side. For a Filipino meal where rice is the base of the plate, use 1/2 cup of uncooked rice per person. For a light side, 1/3 cup is enough. One cup of uncooked rice yields about 3 cups cooked.
For a family of 4 having a normal dinner, 2 cups uncooked is the right amount. For a silog breakfast with a fried egg and tapa or tocino on top, 1/2 cup uncooked per person is the standard plate. We cook fresh for every meal rather than batch cooking. The rice tastes better that way.
What to Serve with Rice
I usually serve white rice with saucy dishes like these.

- Filipino Chicken Adobo the sauce is the whole point and the rice carries it.
- Pork Sinigang sour broth and white rice is the pairing I grew up on.
- Kare-Kare the peanut sauce needs rice to balance the richness.
- Beef Kaldereta – rice balances the richness of the sauce in this Filipino beef stew recipe.
How to Store Cooked Rice
Cool leftover rice to room temperature within an hour, then transfer it to a covered container and refrigerate for up to 4 days. For longer storage, freeze in flat portions for up to a month. To reheat, add 1 to 2 tablespoons of water per cup of rice and either microwave covered for 1 to 2 minutes or warm in a pan over low heat. Day old refrigerated rice is the best base for sinangag because the grains have firmed up and stay separate in the pan.
Brown Rice vs White Rice
Brown rice and white rice come from the same grain. The difference is processing. White rice has the bran and germ removed, which makes it white, soft, and quick to cook. Brown rice keeps the bran, which gives it more fiber, more protein, and a chewy bite, along with a longer cook time.
For everyday Filipino meals where rice is the base of the plate, white is what most households reach for. For lower glycemic load or higher fiber, brown is a good swap.
More Rice Recipes
- Lugaw plain rice porridge, the comfort dish for sick days and rainy mornings.
- Arroz Caldo rice porridge with chicken, ginger, and toasted garlic.
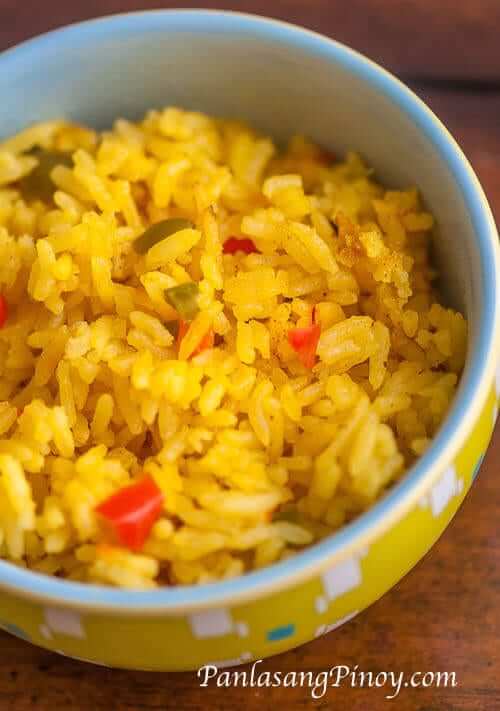
- Java Rice Filipino yellow rice flavored with annatto and turmeric.
- Biko sweet sticky rice cake with coconut milk and brown sugar.
Substitutions
- Jasmine rice – any long grain white rice will give a similar result.
- Rice cooker – the stovetop method gives the same outcome. A heavy pot with a tight lid is what matters.
- Cooking for one – halve everything. Refer to the table above for the water to rice ratio.
- Want softer rice add 2 extra tablespoons of water per cup. Older folks at home usually prefer it this way.
- Want firmer rice for next day fried rice cut the water by 2 tablespoons per cup. Spread the cooked rice on a plate to cool quickly before refrigerating.
Frequently Asked Questions
What is the water to rice ratio?
The right ratio depends on the rice. For long grain white rice, use 1 cup of rice to 1.5 to 1.75 cups of water. Sinandomeng and Dinorado, the everyday Filipino rice varieties, do best at 1 cup of rice to 1.25 to 1.5 cups of water (1:1.25 in a rice cooker, 1:1.5 on the stove). Jasmine follows the same range at 1:1.25 to 1.5. Basmati needs more water at 1:1.75 to 2 unsoaked, or 1:1.25 to 1.5 if soaked first for 20 to 30 minutes. Medium grain rice like Calrose uses 1:1.2 to 1.25. Brown rice needs 1:2.25 to 2.5. Parboiled rice uses 1:2.25. Sticky rice (malagkit) is usually steamed or simmered in coconut milk for Filipino kakanin, not cooked by absorption with water alone.
How long does it take to cook rice?
White rice takes about 18 minutes to simmer on the stove, plus 10 minutes to rest. A basic rice cooker finishes in 20 to 25 minutes. A fuzzy logic cooker takes 50 to 60 minutes including soak and rest. An Instant Pot takes about 18 minutes total. Brown rice takes 40 to 45 minutes. Wild rice takes 45 to 60 minutes.
Do I need to rinse rice before cooking?
Yes. Rinse white rice 2 to 3 times until the water is almost clear. Rinsing removes the surface starch left from milling, which is what makes rice gummy. Skip this step and the rice turns out pasty.
Can I cook rice without a rice cooker?
Yes. Use a heavy pot with a tight fitting lid. For 1 cup rinsed rice, add 1 1/2 cups water, or 1 1/4 cups for jasmine rice. Boil uncovered, then lower the heat, cover, and simmer for 15 minutes. Turn off the heat and let it rest covered for 10 minutes before fluffing. Do not open the lid while it cooks or rests.
Why is my rice mushy?
Mushy rice usually means too much water, heat that stayed too high near the end, or a lid that got opened during cooking. Cut the water by 2 tablespoons next time, keep the simmer on the lowest setting, and leave the lid closed for the full cook and the 10 minute rest.
Why is my rice hard or undercooked?
Hard rice usually means not enough water, not enough time, or the heat ran too high so the water dried out before the grains finished. Add 2 to 3 tablespoons of hot water, cover, and let the pot sit on the lowest heat for 5 more minutes. Check your lid seal next time.
Why does my rice burn at the bottom?
The heat is too high. On a stove, the lowest setting on most ranges is plenty warm. If your stove runs hot, use a heat diffuser, switch to a heavier pot, or move the pot off the burner for a minute partway through. The burnt layer at the bottom is called tutong. Some folks scrape it off and eat it on purpose.
How much rice should I cook per person?
For a normal Filipino meal where rice is the base, use 1/2 cup of uncooked rice per person. For a light side, 1/3 cup is enough. One cup of uncooked rice gives you about 3 cups cooked, which feeds 4 as a side or 2 as a main with a small dish on top.
How long does cooked rice last in the fridge?
Cooked rice keeps for up to 4 days in a covered container in the fridge. For longer storage, freeze in flat portions for up to a month. Cool the rice within an hour of cooking to keep it safe.
Can I cook rice without a rice cooker?
Use a heavy pot with a tight fitting lid. For 1 cup rinsed white rice, add 1 1/2 cups water. For jasmine rice, use 1 1/4 cups. Bring it to a boil uncovered, then lower the heat, cover, and simmer for 15 minutes. Turn off the heat and let it rest covered for 10 minutes before fluffing. Do not open the lid because the steam helps finish the rice.
Can I cook rice in an Instant Pot?
Yes. The ratio is 1 cup rinsed rice to 1 cup water. This works for jasmine rice, Sinandomeng, Dinorado, and regular long grain white rice because the Instant Pot is sealed, so the water does not evaporate like it does on the stovetop.
Cook on High Pressure for 3 minutes, then let it naturally release for 10 minutes before opening. Fluff the rice gently, and it is ready to serve.
Can I cook rice in the microwave?
Yes. Put 1 cup of rinsed rice and 2 cups of cold water in a large microwave safe bowl. Microwave on high for 10 minutes, then on 50 percent power for 8 minutes. Rest 5 minutes before opening.
Should I use cold or hot water?
Cold water is ok, but water in room temperature is always effective for me. Either of these, the rice comes out evenly.
Once you find the right ratio for your rice, the rest of the method stays the same. Pick your equipment, rinse the rice, measure the water from the table, and let it rest. Try this and let me know how it goes.
Did you make this? If you snap a photo, please be sure tag us on Instagram at @panlasangpinoy or hashtag #panlasangpinoy so we can see your creations!
How to Cook Rice
Ingredients
- 1 cup long grain white rice jasmine, Sinandomeng, or Dinorado. See notes for other rice types.
- 1 1/2 to 1 3/4 cups water cold from the tap. Use the lower amount for firmer rice and the higher amount for softer rice. See notes for other rice types.
- 1/4 teaspoon salt optional. Most Filipino households skip it.
Instructions
Rice Cooker Method
- Place the rice in the inner pot. Fill with cold water, swirl with your hand, then tilt the pot and pour off the cloudy water through your fingers. Repeat 2 to 3 times until the water looks almost clear.1 cup long grain white rice
- Drain the rinse water well and level the rice in the pot. Add the cold water using the ratio for your rice type (see the table in the notes).1 1/2 to 1 3/4 cups water
- Stir in the salt if using. Place the inner pot into the rice cooker, close the lid, and press the cook button.1/4 teaspoon salt
- When the cooker switches to keep warm, leave the lid closed and let the rice rest for 10 minutes.
- Open the lid and fluff the rice gently with a rice paddle. Serve and enjoy.
Stovetop Method
- Place the rice in a fine mesh strainer. Rinse under cold running water, swirling the grains with your hand, until the water runs almost clear.1 cup long grain white rice
- Transfer the rinsed rice to a heavy-bottomed pot. Add the cold water using the ratio for your rice type (see the table in the notes) and the salt if using.1 1/2 to 1 3/4 cups water, 1/4 teaspoon salt
- Place the pot on the stove over medium-high heat. Bring the water to a boil, uncovered.
- Once boiling, reduce the heat to low and cover with a tight-fitting lid. Simmer for the cook time listed in the table without lifting the lid.
- Turn off the heat and let the rice rest, still covered, for 10 minutes.
- Fluff with a rice paddle and serve. Share and enjoy!

Angela de leon says
I did not cook rice to start with, I had a bible study at my home, when its time to eat, one of the guest volunteer to get the rice, she scooped it out of the rice cooker, it was crunchy, everyone started looking at its other and said ” you don’t know how to cook rice’ ?, to save me from embarrasment my Pastor said , let me cook the rice & he said take a note, 1-cup of rice 1 1/2 cup of water. From that moment on every body bring rice when they come for Bible study to make sure, Thank you Banjo for your recipe, I am now a almost a good cook,, next will be baking