11 Tips to Improve Your Cooking Skills
Are you interested in improving your cooking skills? These cooking tips might come in handy:
1. Start with a positive attitude and set your goal
Being optimistic in the idea of learning and improving yourself is the most important attitude that you need to wear to guarantee success in any endeavor that you wish to pursue. Ask yourself this: Do I really want to improve my cooking skills? If you do, think of the reasons why you want to improve your skills; these reasons will be your goal. Write them down and visualize yourself attaining them. This will help you to focus more on the things that need to be done.
2. Take time to understand cooking terms and learn basic techniques
Learning the basics of cooking is a prerequisite. If you seek for improvement, you must at least understand some terms used in recipes and cookbooks and be able to perform the basic cooking techniques. If you wish to learn how to bake a cake then you should have at least tried making simple pastries. Our previous post on the Definition of cooking verbs can be a good start in understanding common terms used in recipes and cookbooks.
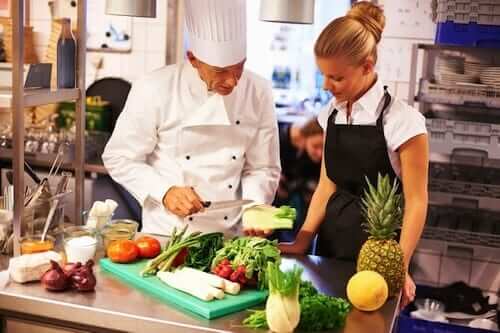
3. Select the freshest ingredients possible
Different ingredients are needed to make a dish. The quality of ingredients that you use can make or break it. This might sound like an idiom but you ought to know that the success of a dish mostly relies on the ingredients used. You cannot make a fresh tasting fish dish with an old fish no matter how fresh your spices are – even the best chef in the world will have a hard time doing that. The best way to ensure that you are using the freshest ingredients is to get them on the day that you need them. If you don’t have the time to visit the market on a daily basis, refrigerating them can work too as long as you will consume them within the next 24 hours. If you are used to freeze meat and seafood, try to use freezer bags to trap the freshness and avoid burns. Of course, fresh foods are still best compared to frozen ones.
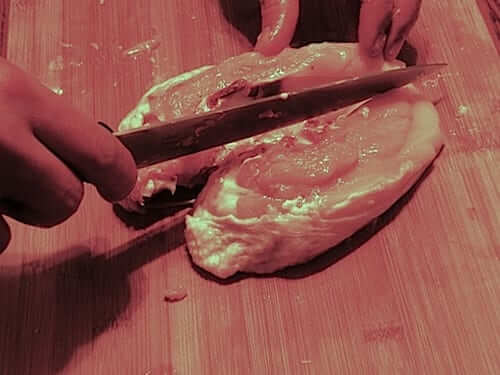
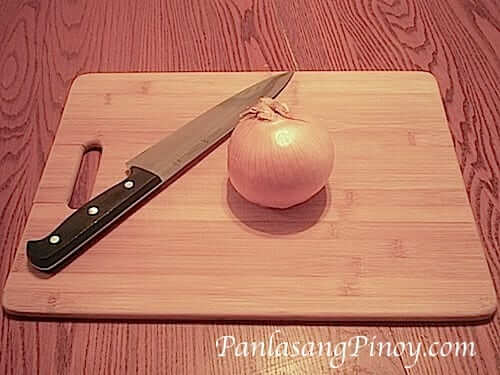
4. Invest in cooking tools and kitchen equipments
This is one of the areas that most neglect. Many of us might think that having a pan, a spatula, and a knife is enough to get things going. Some might term this scenario as a frugal way of living but if you are serious about cooking and honing your skills then you should consider getting additional cooking tools and kitchen equipment to assist you further and make your cooking experience as easy as possible. Every cooking tool and equipment serves a specific purpose: cooking pans are used for frying while cooking pots are used to make stews and soups; chef knives are used for slicing while paring knives are used to peel and carve. If budget is an issue, try using a Skillet instead of having pans and pots. Skillets can beautifully sear meat; it can also be used for roasting and making casseroles. When I’m not shooting cooking videos, I use my favorite cast iron skillet to get things done easily. As for the knives, it is best if you have a set of kitchen knife to make your slicing and cutting chores faster and easier. If a set is too expensive for you, I recommend keeping at least a piece of chef knife, paring knife, and filet knife. Some stores carry limited varieties of kitchen equipment and tools; I usually buy my kitchen tools and equipment online because the inventory is not limited and I can read reviews on the products that I wish to have.
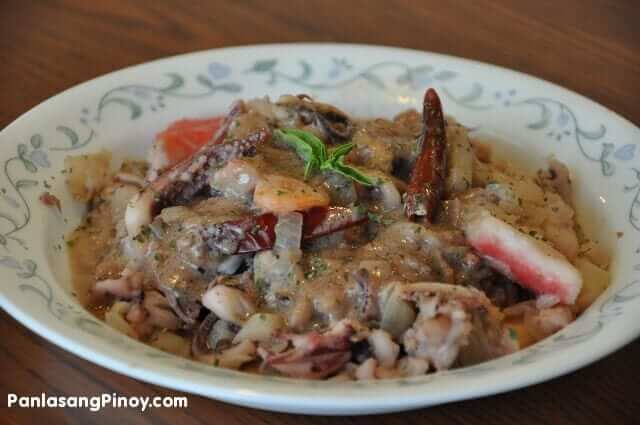
5. Try to know the characteristics of every ingredient that you will use
Knowing the properties or characteristics of your ingredients is important. Having an idea on how your ingredient will behave or react while being cooked can help you plan ahead and decide the sequence or steps in making your dish. Let’s take calamari as an example. We all know that the main ingredient for calamari (calamares) is squid. Squid should not be cooked for a long time because it will have a rubbery texture. If you are aware of this, you will try to limit the frying time to preserve the optimal texture of the squid. This can also be applied to vegetables. Say I need to make a vegetable soup out of potatoes and spinach – I’ll put-in the potatoes first before the spinach because it takes a while for the potatoes to cook. Placing the spinach ahead of the potatoes will overcook the spinach producing an unpleasant texture.
6. Don’t be afraid to get messy but make sure to tidy-up
It is normal for beginners to use utensils while working with ingredients and plating. While this is not wrong at all (this is even recommended as far as sanitation is concerned), using your hands is also a fine as long as you wash them first (of course, there are instances when using tools are highly recommended). Don’t be grossed-out when you use your hands when marinating or making your presentation because sometimes you literally need to feel your food. There are also some unavoidable circumstances when you create a mess in the kitchen while you are cooking – this is normal. Don’t freak out when you see that your kitchen is messy; cleaning is also a part of cooking. Make it a habit to clean the mess that you created once you are done cooking. Always remember that a clean kitchen is a healthy kitchen.
7. Try to master simple dishes before moving-on to the next level
Most of us might be guilty on this. You want to cook your favorite dish so you searched a recipe from the internet or bought a cookbook. As you were skimming on the recipe, you noticed that the procedures are quite complicated and you don’t have a clue on how it should be done – or you tried doing the procedure but the result is always unsatisfactory. Don’t blame the cookbook or the recipe on this. Try to ask yourself why you were not able to follow the procedure correctly. If all recipes have accompanying videos like what we have here in Panlasang Pinoy then you should have no problem at all – but that is not the case. Remember that you first learned to walk before you started running. Try to walk slowly by mastering simple dishes. Try to master the art of egg frying first before attempting to cook breaded pork chops. When you feel confident enough and you think that you are ready, that is the time that you take on the next challenge. Cook pork adobo or chicken adobo next then master them. If you follow this advice, you’ll be able to make morcon, chicken pastel, dinuguan and other more advanced level dishes in no time.
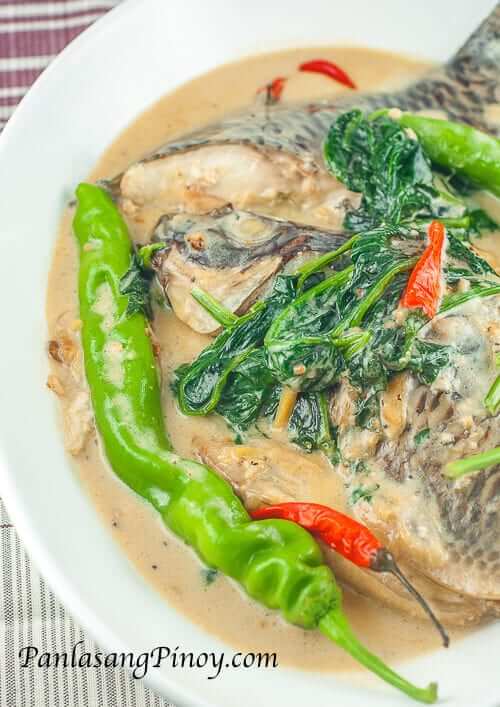
8. Timing is everything
Have you tried watching a baseball game? Observe how the batter hits the ball – there is a proper time when he swings the bat towards the approaching ball to hit it. That is timing my friends. Proper timing is one of the factors for a successful dish. Imagine that you will fry fresh fish on a regular pan (not the Teflon coated or non-stick pan that we use today). You turned the heat on and poured-in the cooking oil in the pan. You then placed the fish immediately even if the oil is not hot enough. When the pan and oil starts to heat-up, the skin of the fish will stick to the bottom of the pan since the fish sits directly on the metal end. When you try to flip the fish to fry the opposite side, you’ll see yourself scraping the spatula just to let the fish loose. You won’t be in this situation if you only waited for the oil to be hot enough before frying the fish. Develop a sense of timing by knowing when to start and when to stop.
9. Think outside the box
How many times have you heard this phrase? This might sound overused but if you’ll ponder on it and read between the lines you’ll see a whole new meaning that you can apply to almost anything. Sometimes living a square life and following everything by the book is boring. Try to hype things up. Improvise a recipe by adding ingredients or do some cooking experiment and develop a new recipe. Try to combine two dishes and see how it goes.
10. Plan ahead of time
What has this got to do with improving your cooking skills? If you think that cooking starts when the pan is heated, you need to rethink and look at the bigger picture. A good cook should be able to plan a menu. Are you aware on the consequences of poor planning or not planning at all? This is a big waste of time, energy, and money. Planning your menu ahead of time gives you control and allow you to select and purchase only the ingredients that are needed. This also gives you time to double check recipes and ensure that everything is in place. You don’t want to cook a dish if you are missing the major ingredient, do you?
11. Practice,practice,practice
This needs no explanation at all. I believe that you are determined to be a good cook if you were able to read up to this point. Do a lot of practice by cooking for your family everyday. You are hitting 2 birds with1 stone; you develop your cooking skills while making your family happy and satisfied.